

树莓派4B (Ubuntu 22.04) + Livox mid 360 激光雷达运行fast_lio (更新中)
一、Ubuntu 系统安装
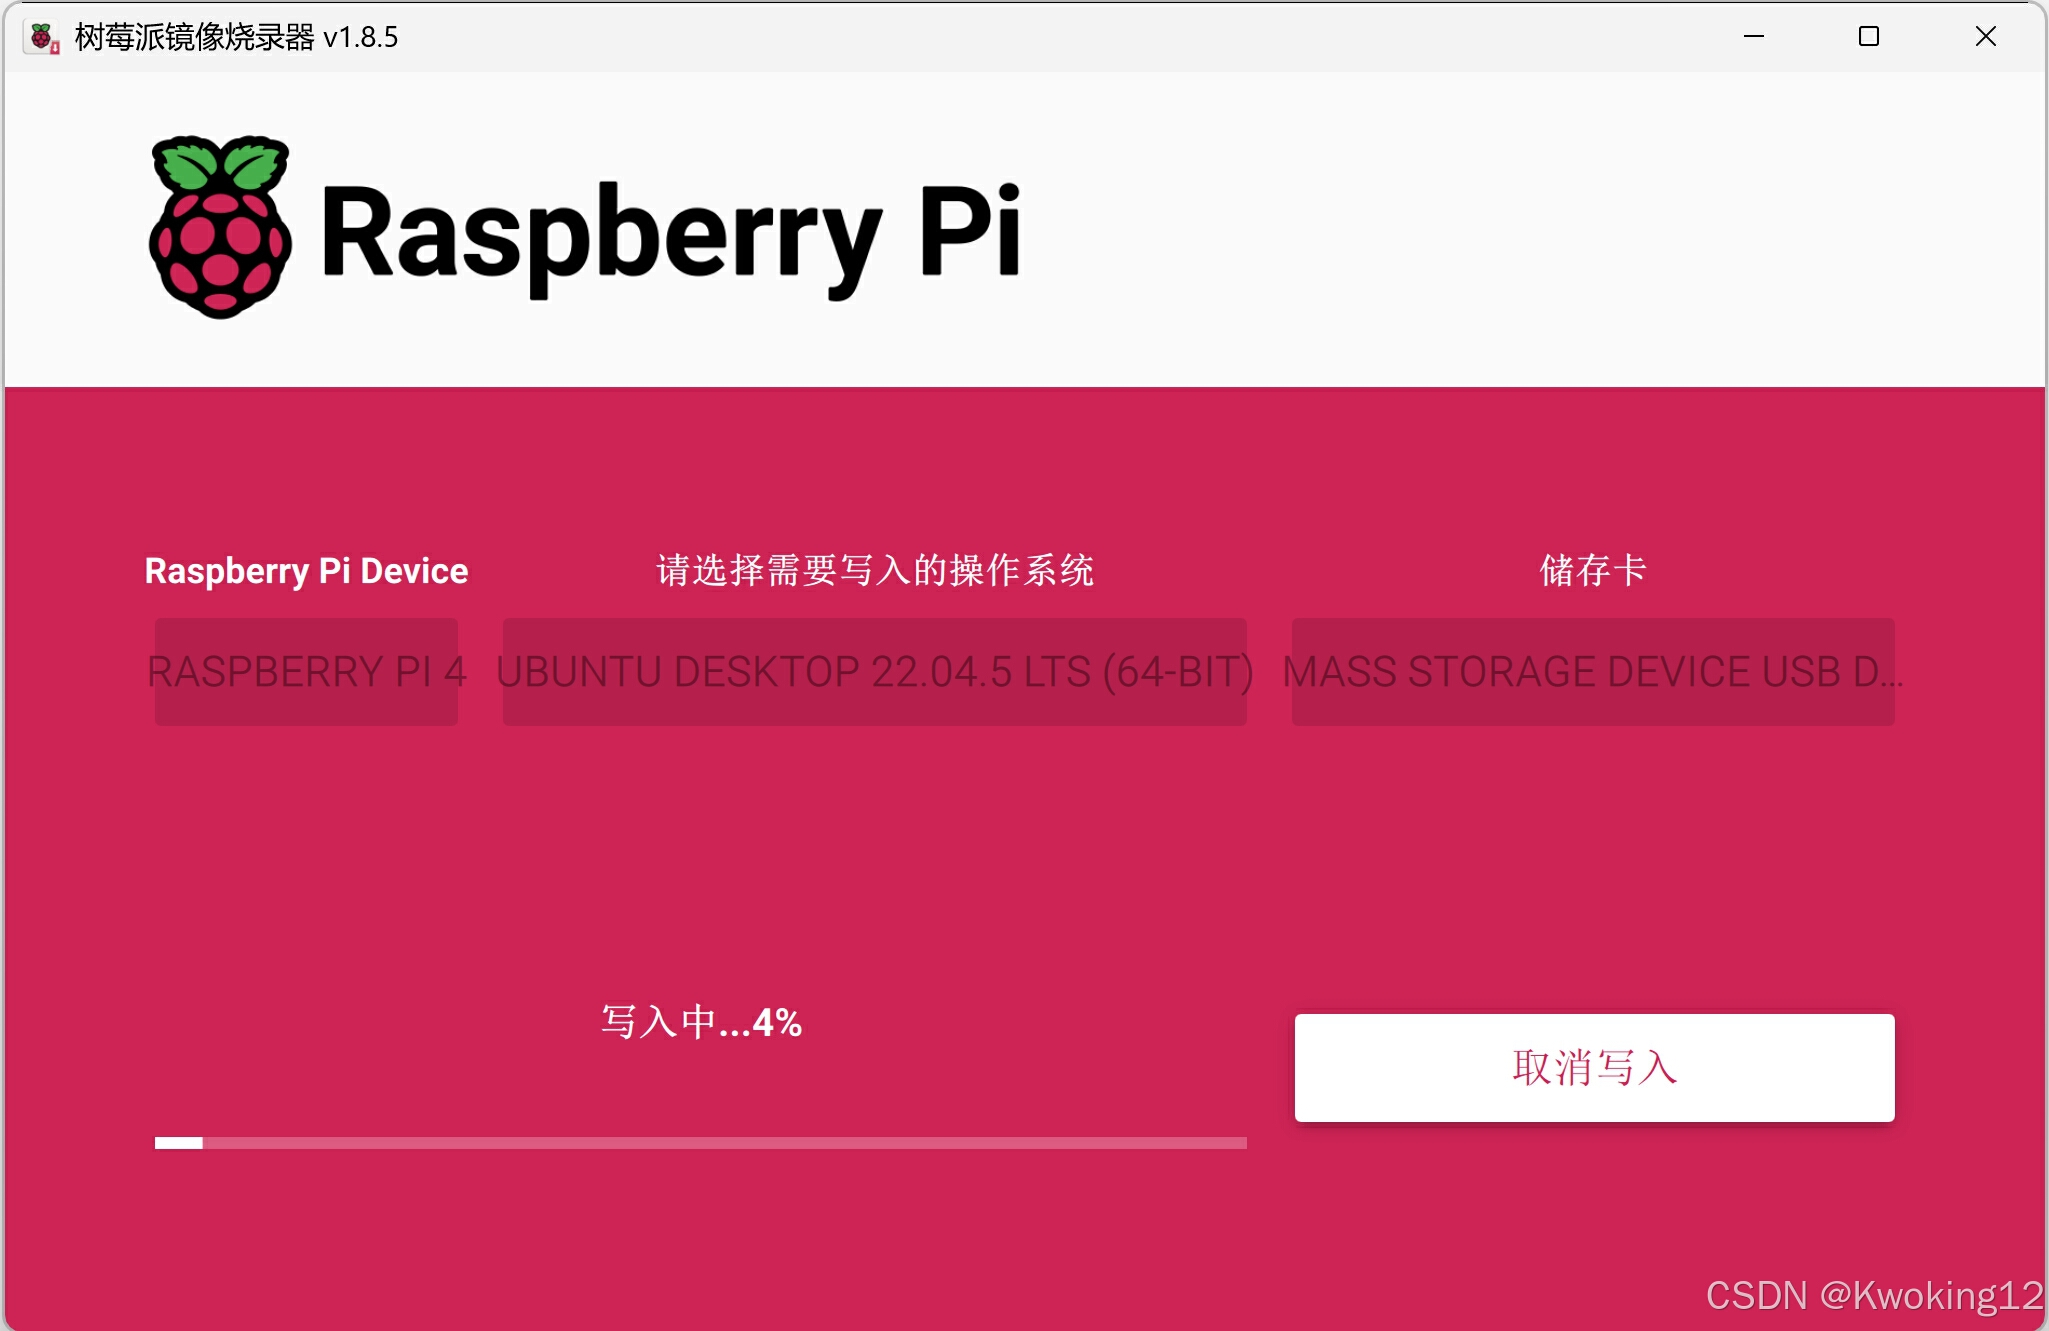
1.系统烧录
本次使用树莓派官方镜像烧录器,系统选择 Ubuntu desktop 22.04.5 LTS(64位)。
2.基础配置
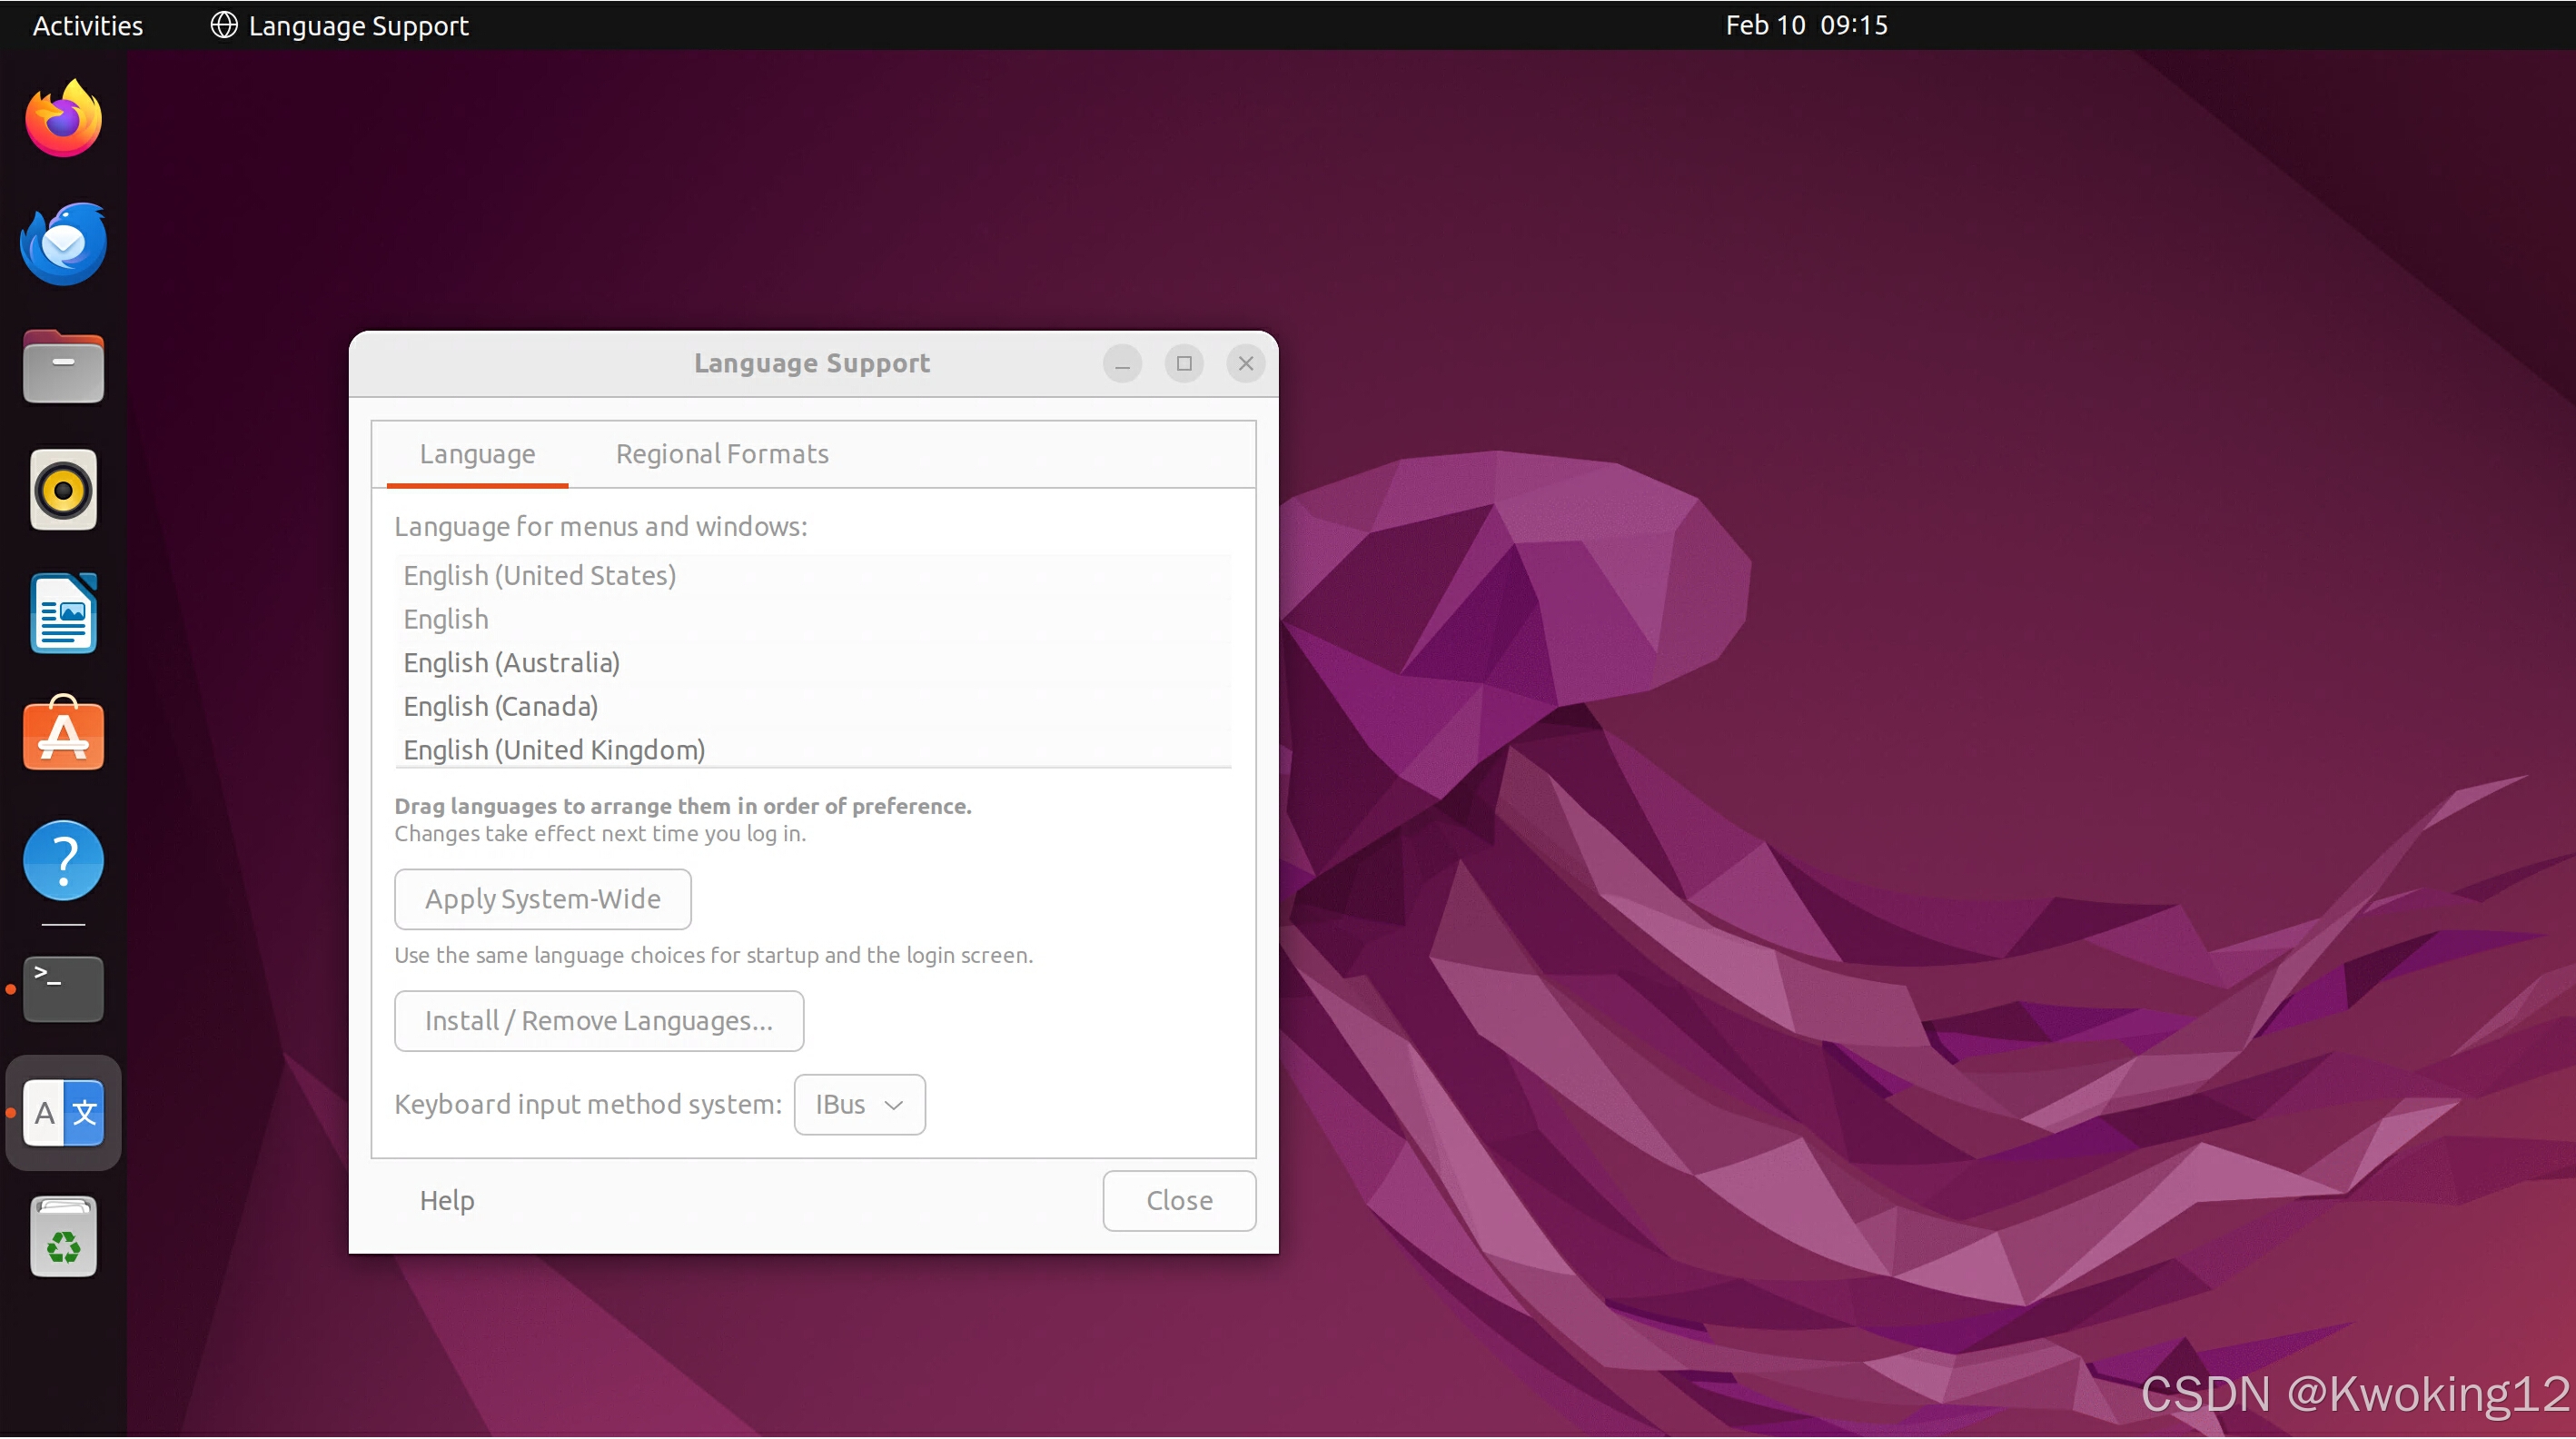
写入完成后,将TF卡装入树莓派,连接显示器、鼠标键盘,上电进入系统引导,完成常规设置和更新后进入Ubuntu桌面。
2.1 开启VNC(根据实际需求选择)
设置 setting >分享 sharing >远程桌面 remote desktop,开启远程桌面和远程控制开关。
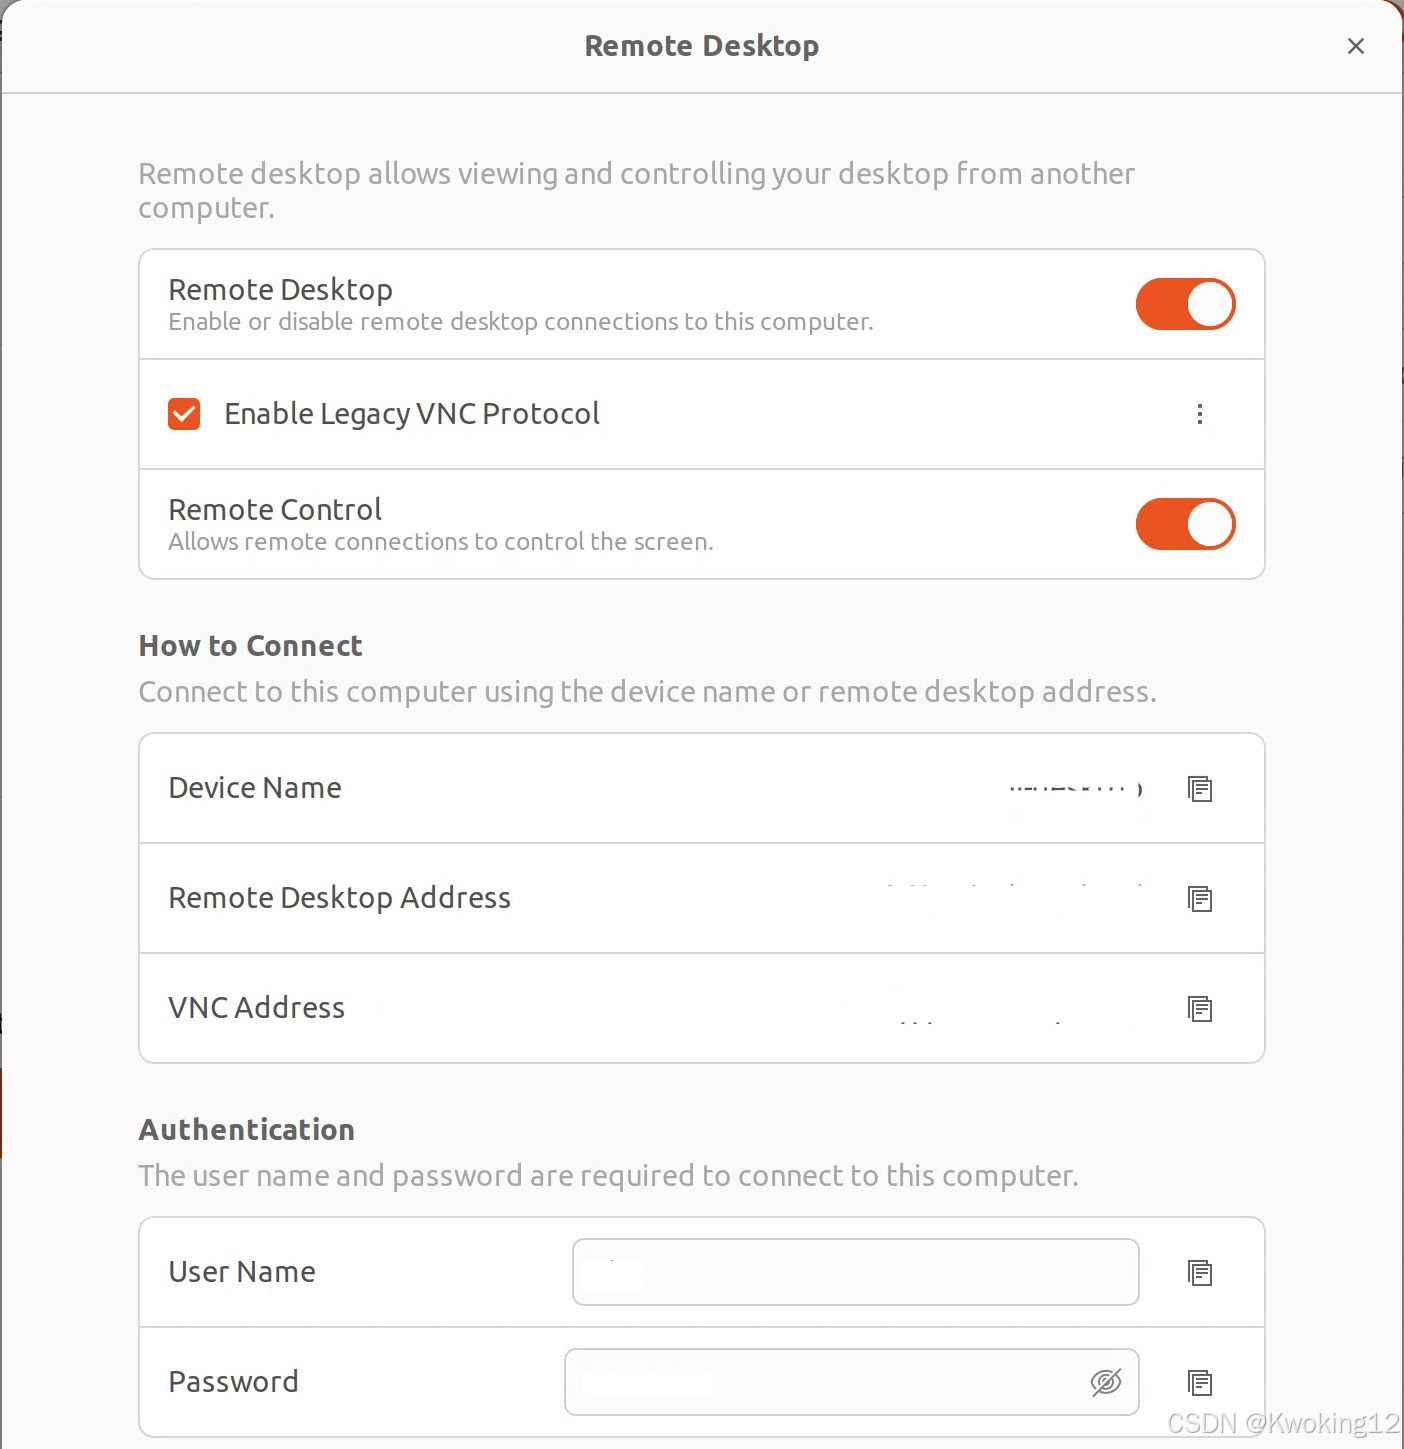
本次使用 xrdp 服务器进行远程桌面连接,打开 Windows系统自带远程桌面连接进行远程。
#1. 安装xrdp
sudo apt update
sudo apt install xrdp -y

#2.启动
sudo systemctl enable xrdp --now
2.2 更换软件镜像源(根据实际系统版本和CPU架构,本次为 Ubuntu 22.04 LTS jammy arm64架构)
打开 sources.list
sudo nano /etc/apt/sources.list将原软件源注释掉(根据实际需求),添加国内源并保存。
# 默认注释了源码镜像以提高 apt update 速度,如有需要可自行取消注释
deb https://mirrors.tuna.tsinghua.edu.cn/ubuntu-ports/ jammy main restricted universe multiverse
# deb-src https://mirrors.tuna.tsinghua.edu.cn/ubuntu-ports/ jammy main restricted universe multiverse
deb https://mirrors.tuna.tsinghua.edu.cn/ubuntu-ports/ jammy-updates main restricted universe multiverse
# deb-src https://mirrors.tuna.tsinghua.edu.cn/ubuntu-ports/ jammy-updates main restricted universe multiverse
deb https://mirrors.tuna.tsinghua.edu.cn/ubuntu-ports/ jammy-backports main restricted universe multiverse
# deb-src https://mirrors.tuna.tsinghua.edu.cn/ubuntu-ports/ jammy-backports main restricted universe multiverse

# 以下安全更新软件源包含了官方源与镜像站配置,如有需要可自行修改注释切换
deb http://ports.ubuntu.com/ubuntu-ports/ jammy-security main restricted universe multiverse
# deb-src http://ports.ubuntu.com/ubuntu-ports/ jammy-security main restricted universe multiverse

# 预发布软件源,不建议启用
# deb https://mirrors.tuna.tsinghua.edu.cn/ubuntu-ports/ jammy-proposed main restricted universe multiverse
# # deb-src https://mirrors.tuna.tsinghua.edu.cn/ubuntu-ports/ jammy-proposed main restricted universe multiverse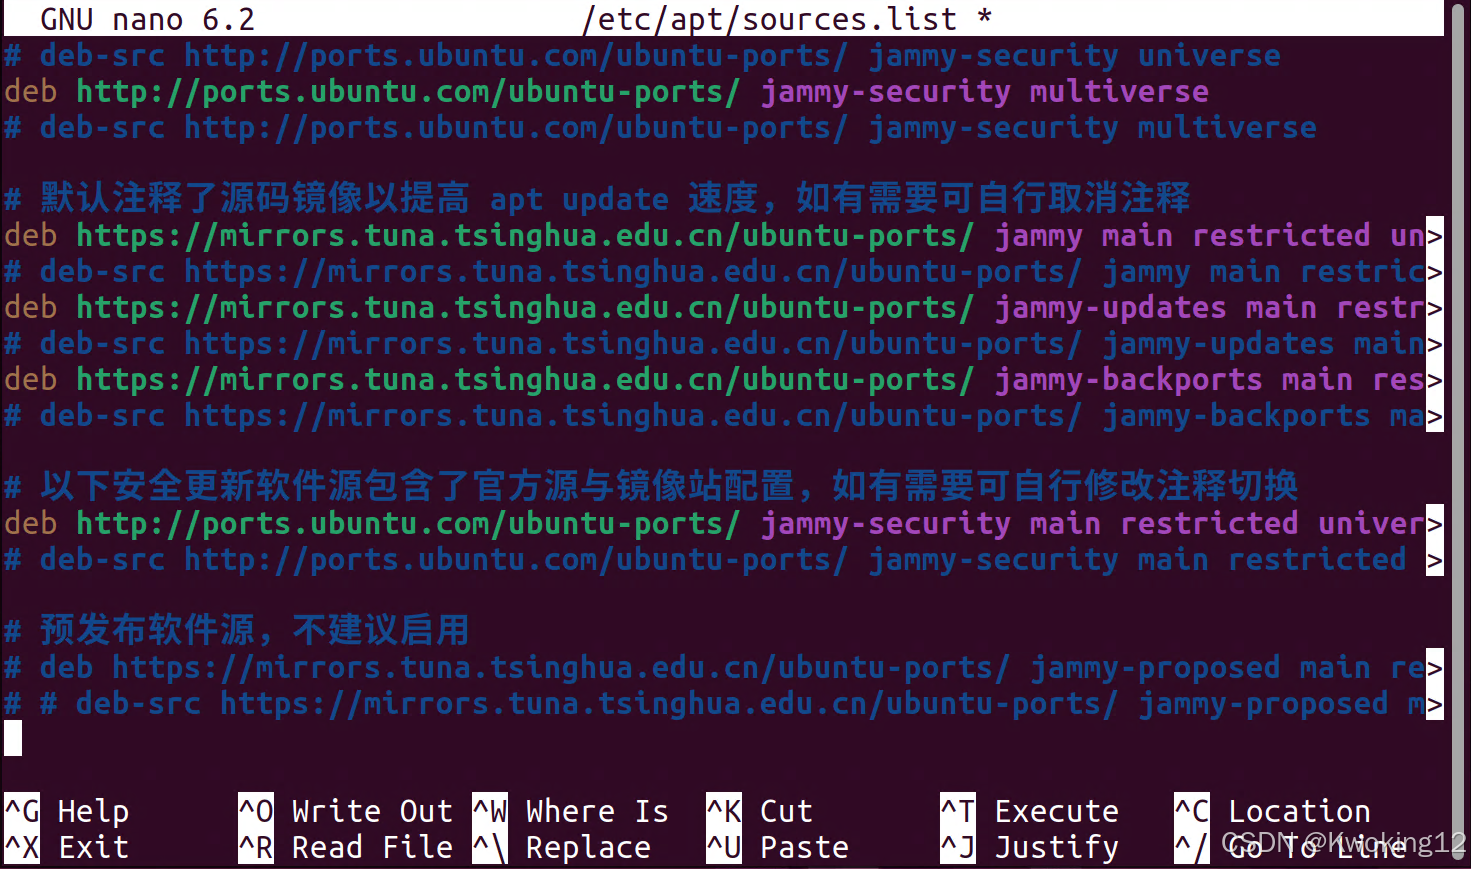
编辑镜像站后,使用 sudo apt update ,更新软件源列表,检查编辑是否正确。
二、安装 ROS
本次为 Ubuntu 22.04 LTS jammy 位系统,选择安装 ROS 2 Humble Hawksbill 版本。
#1.手动设定区域选项以避免后续出现问题
locale  # check for UTF-8

sudo apt update && sudo apt install locales
sudo locale-gen en_US en_US.UTF-8
sudo update-locale LC_ALL=en_US.UTF-8 LANG=en_US.UTF-8
export LANG=en_US.UTF-8

locale  # verify settings
#2. 将 ROS2 apt存储库添加到系统中
sudo apt install software-properties-common
#3. 启用Ubuntu Universe 存储库
sudo add-apt-repository universe#4. 使用 apt 添加 ROS2 GPG 密钥
sudo apt update && sudo apt install curl -y
sudo curl -sSL https://raw.githubusercontent.com/ros/rosdistro/master/ros.key -o /usr/share/keyrings/ros-archive-keyring.gpg
# 若运行后提示无法链接到网址 Failed to connect to raw.githubusercontent.com
# 在hosts文件种添加 raw.githubusercontent.com ip
185.199.108.133 raw.githubusercontent.com
185.199.109.133 raw.githubusercontent.com
185.199.110.133 raw.githubusercontent.com
185.199.111.133 raw.githubusercontent.com#5. 将存储库添加到源列表
echo "deb [arch=$(dpkg --print-architecture) signed-by=/usr/share/keyrings/ros-archive-keyring.gpg] http://packages.ros.org/ros2/ubuntu $(. /etc/os-release && echo $UBUNTU_CODENAME) main" | sudo tee /etc/apt/sources.list.d/ros2.list > /dev/null#6. 安装 ros2 桌面版
sudo apt update
sudo apt upgrade
sudo apt install ros-humble-desktop#7. 添加环境变量
source /opt/ros/humble/setup.bash#5. 分别打开两个终端,运行 listener 和 talker 示例,验证 ROS 安装结果
source /opt/ros/humble/setup.bash
ros2 run demo_nodes_cpp talker
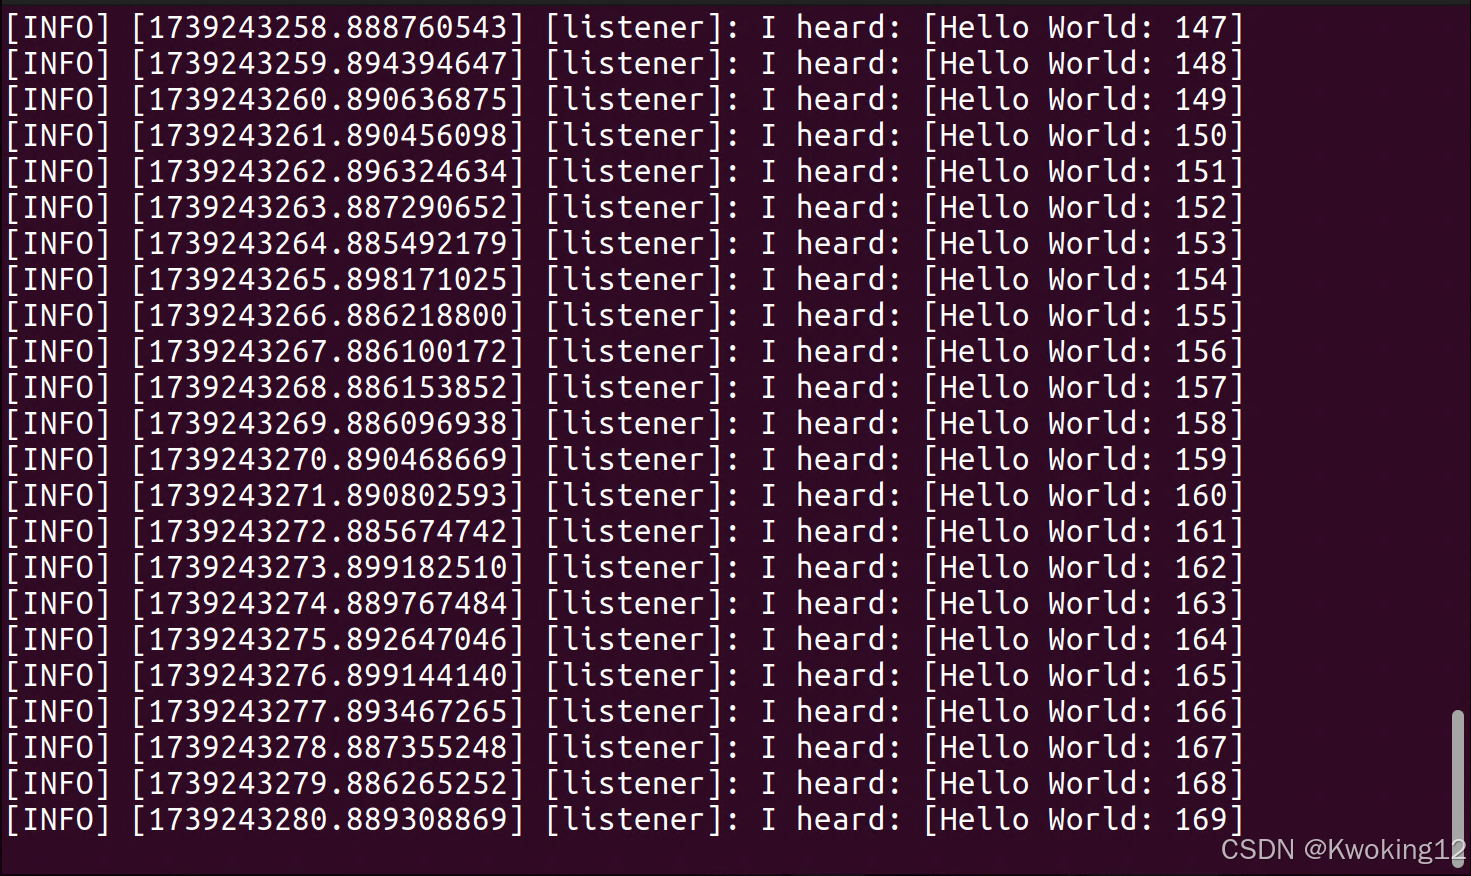
source /opt/ros/humble/setup.bash
ros2 run demo_nodes_py listener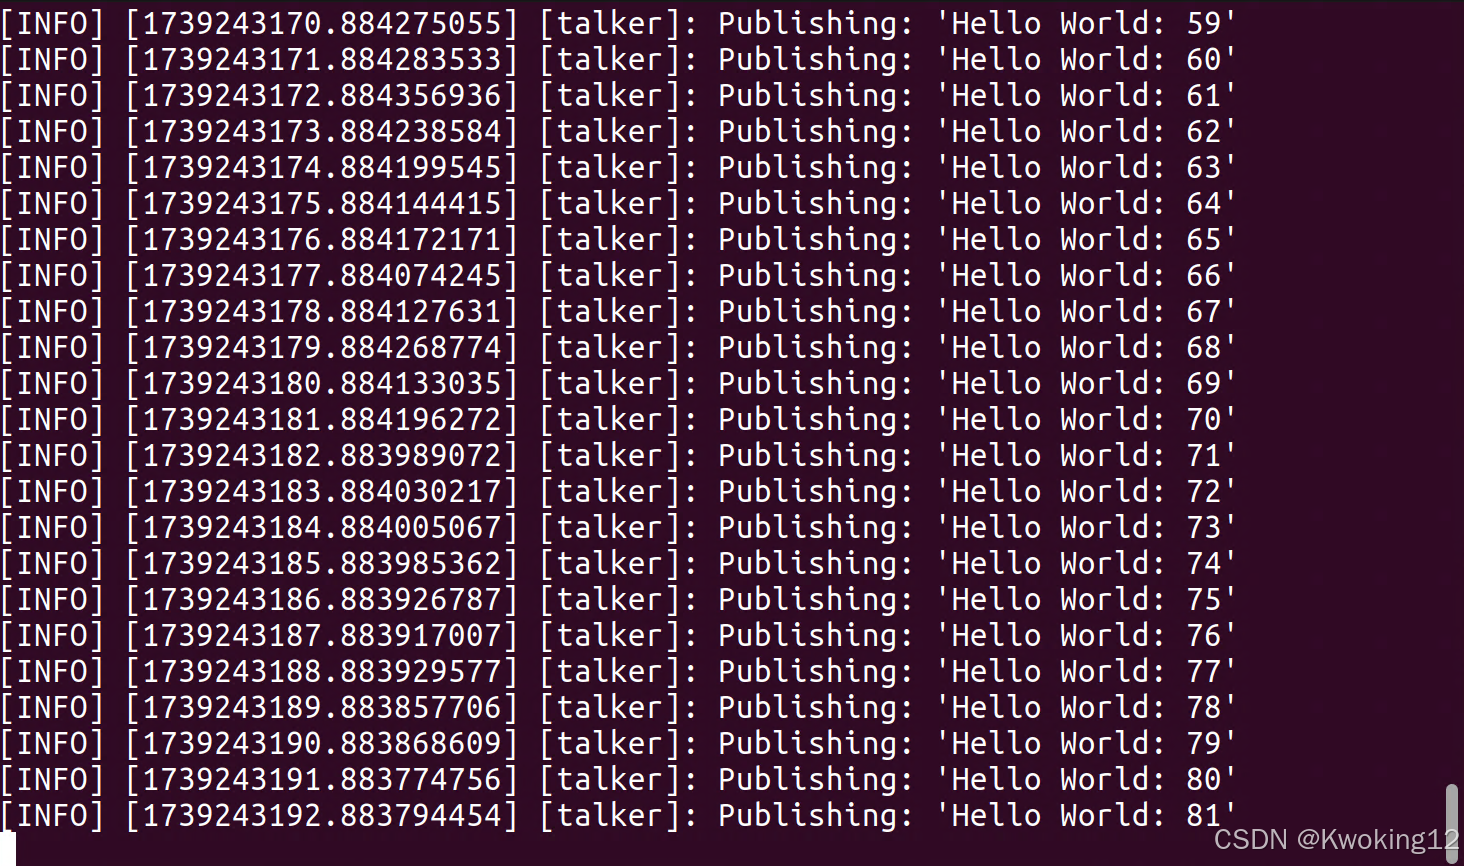
#6. 检查环境变量
printenv | grep -i ROS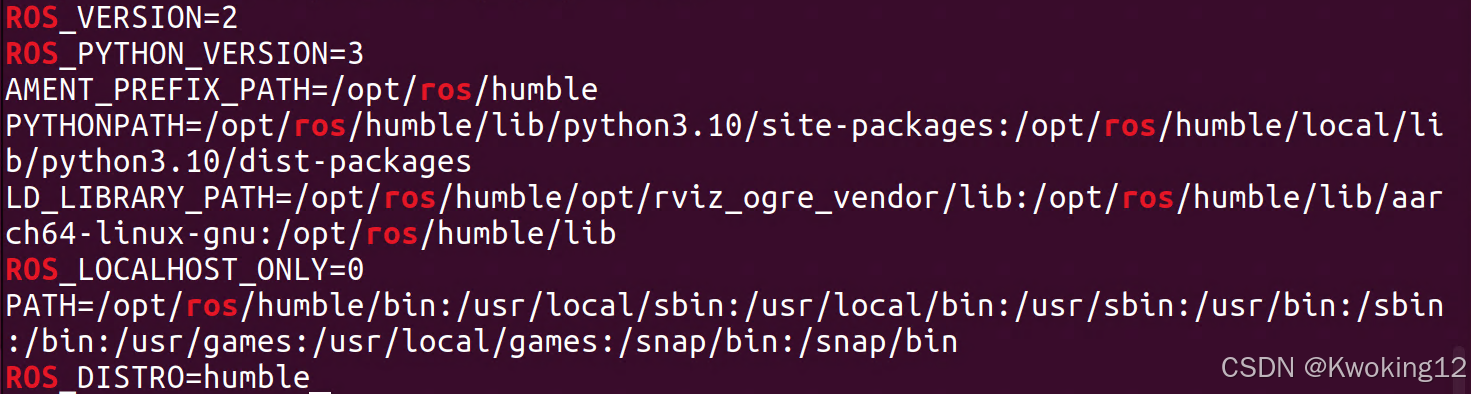
三、驱动激光雷达
1.安装 Livox-SDK2 功能包
#1. 下载 SDK
git clone https://github.com/Livox-SDK/Livox-SDK2.git
#2. 创建编译空间
cd Livox-SDK2/
mkdir build && cd build
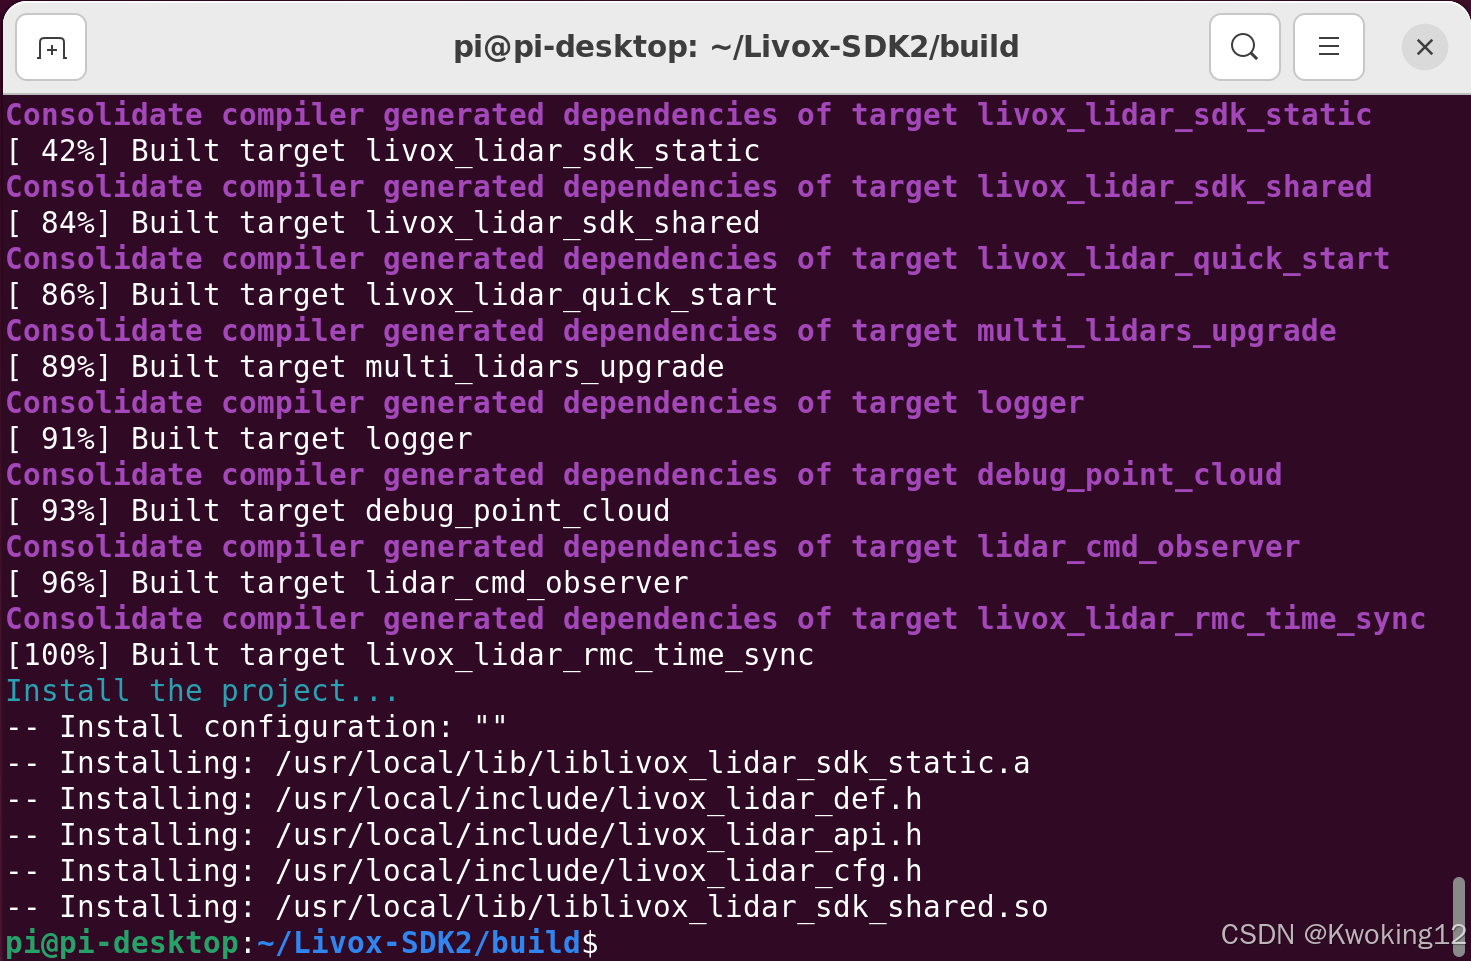
#3. 编译安装
cmake ..
make -j
sudo make install编译时可能会出现关于 rapidjson 这一文件的 warning,类似下面的提示:
/home/pi/Livox-SDK2/sdk_core/../3rdparty/rapidjson/rapidjson.h:542:29: warning: unknown option after ‘#pragma GCC diagnostic’ kind [-Wpragmas]
542 | #define RAPIDJSON_PRAGMA(x) _Pragma(RAPIDJSON_STRINGIFY(x))
/home/pi/Livox-SDK2/sdk_core/../3rdparty/rapidjson/rapidjson.h:543:34: note: in #expansion of macro ‘RAPIDJSON_PRAGMA’
543 | #define RAPIDJSON_DIAG_PRAGMA(x) RAPIDJSON_PRAGMA(GCC diagnostic x)
本次的解决方法
找到文件 /home/Livox-SDK2/3rdparty/rapidjson/internal/dtoa.h ,将第36行:
RAPIDJSON_DIAG_OFF(array - bounds) // some gcc versions generate wrong warnings修改为:
RAPIDJSON_DIAG_OFF(array-bounds) // some gcc versions generate wrong warnings清理后再次编译,完成安装。
2. 安装 livox_ros_driver2 驱动功能包
#0. 安装必要工具
sudo apt update
sudo apt install git python3-colcon-common-extensions python3-rosdep python3-ament-package python3-pip -y
sudo rosdep init
rosdep update

#1. 创建工作空间
mkdir -p ~/livox_ws/src
cd ~/livox_ws/src

#2. 下载驱动
git clone https://github.com/Livox-SDK/livox_ros_driver2.git

# 如果反复出现网址未响应,可以考虑更换 GitHub 镜像网站(需确认镜像网址可用)
git config --global url."https://bgithub.xyz/".insteadOf https://github.com/

# 查看当前网址设置
git config --global -l

# 断开替代链接网址
git config --global --remove-section url."https://bgithub.xyz/"

#3. 安装依赖
cd ~/livox_ws
rosdep install --from-paths src --ignore-src -r -y

#4. 构建项目
cd ~/livox_ws/src/livox_ros_driver2
source /opt/ros/humble/setup.sh
./build.sh humble

#5. 设置环境变量
source ~/livox_ws/install/local_setup.sh
echo "source ~/livox_ws/install/local_setup.sh" >> ~/.bashrc
3.修改 IP 地址
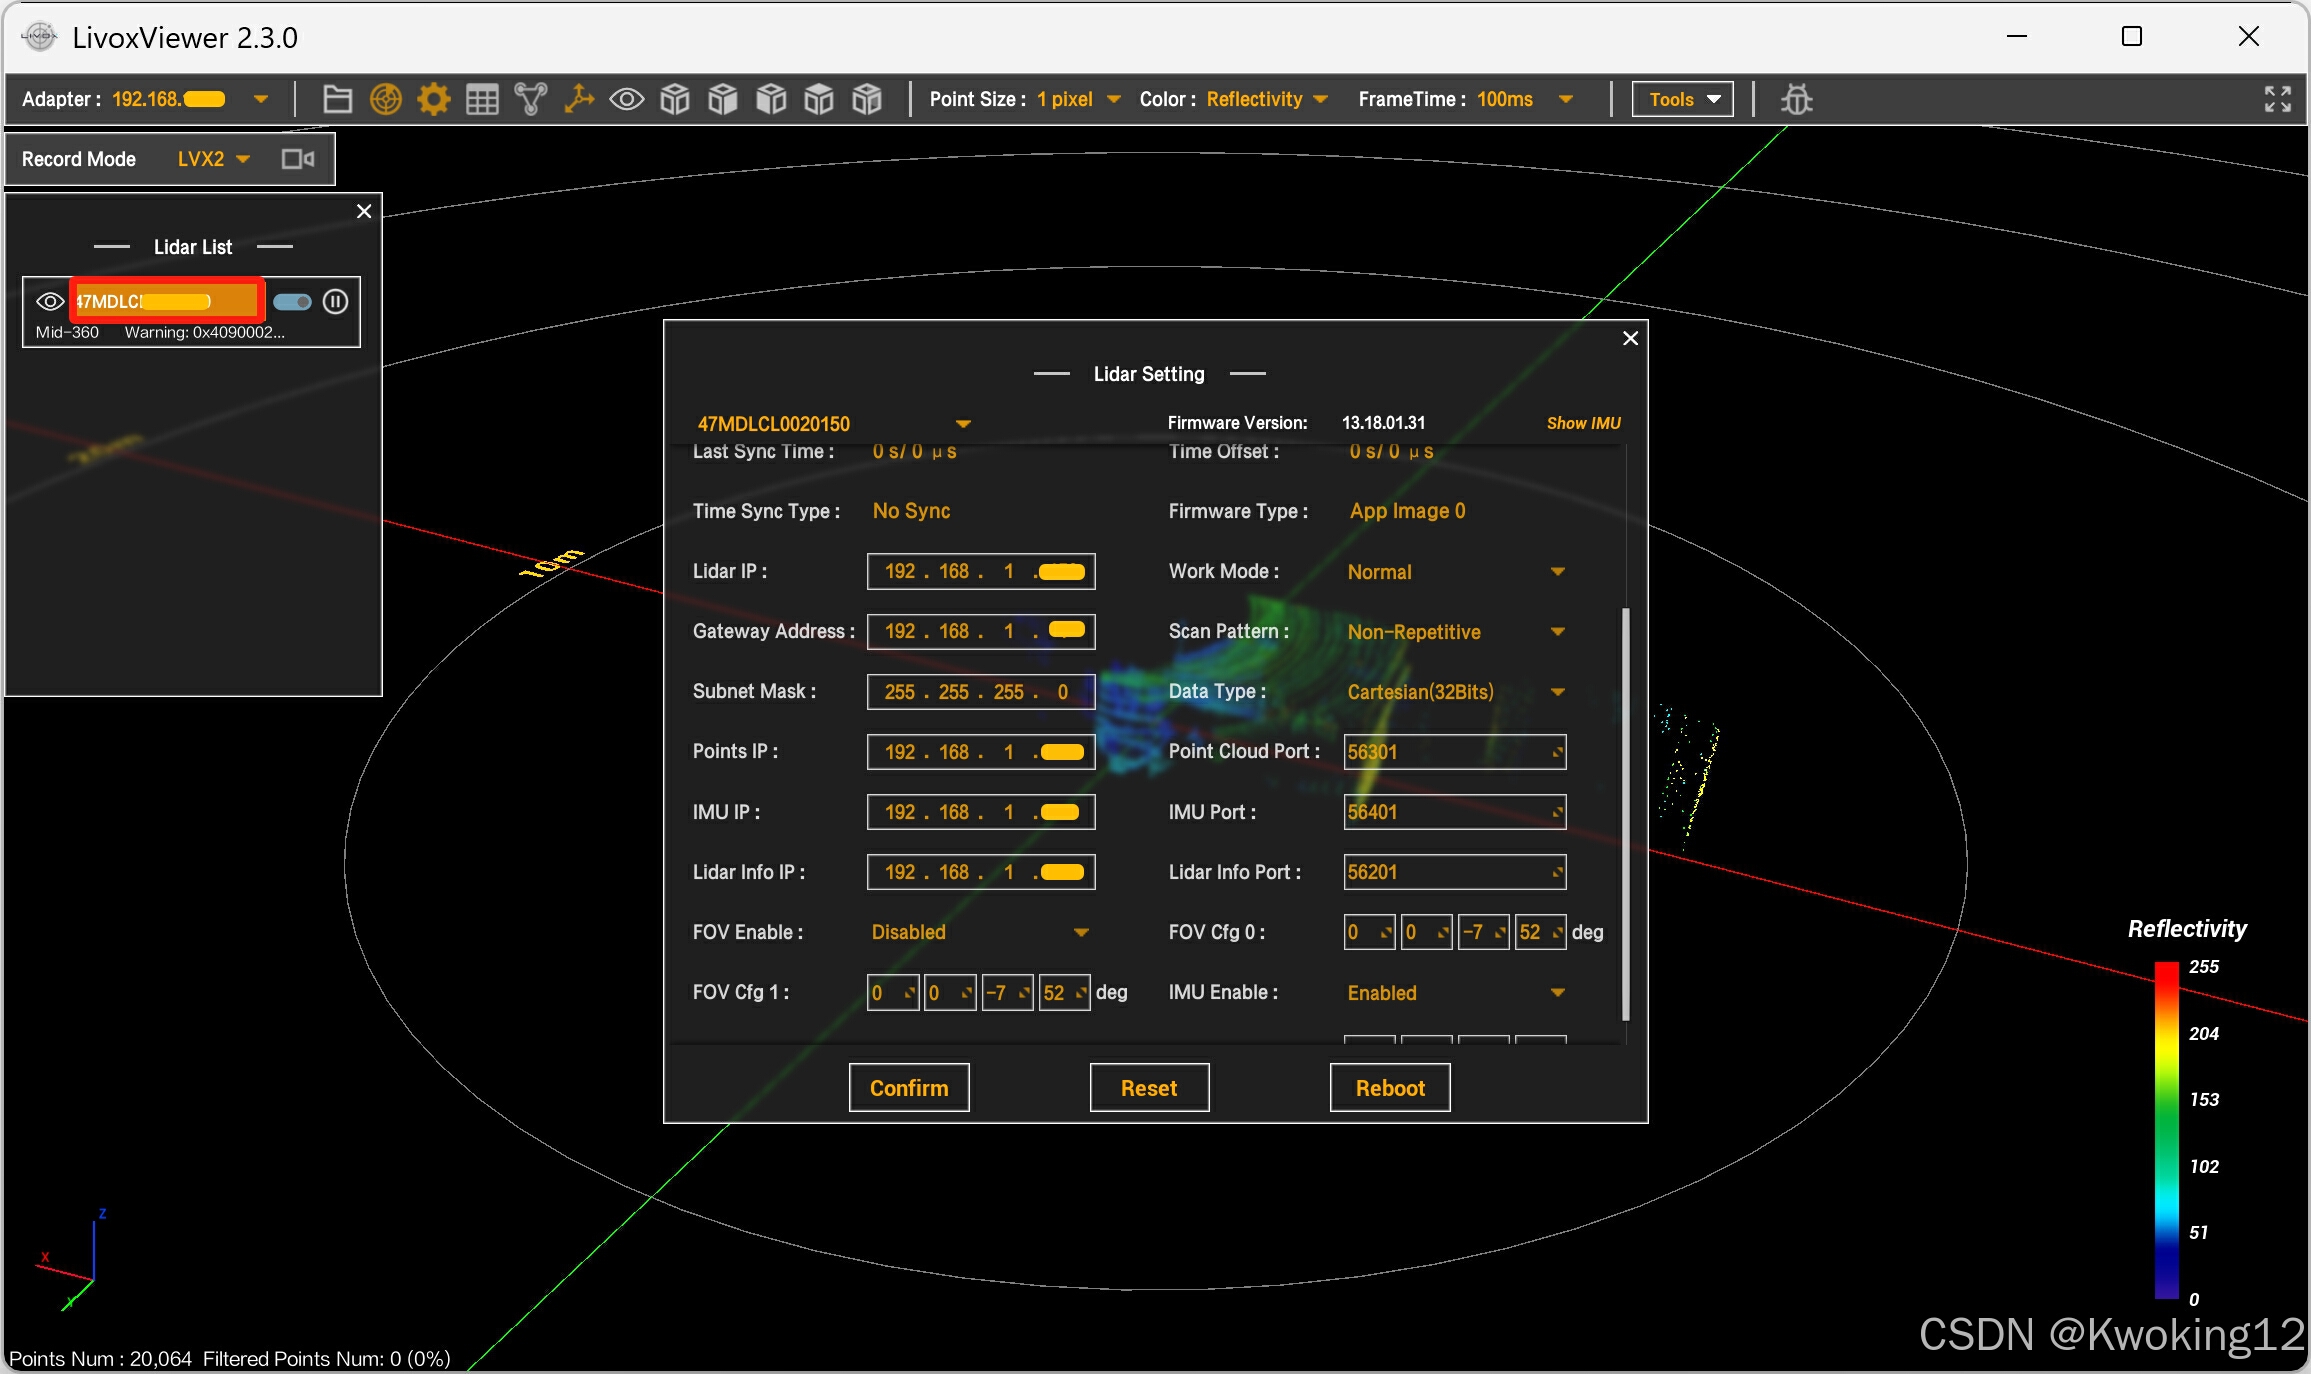
3.1 使用 LivoxViewer2 客户端,将雷达接入,查看设备IP。
左侧红框内为雷达 S/N 码,对应下述 cmdline_bd_code 。
Points IP、IMU IP、Lidar Infor IP 相同,对应下述 cmd_data_ip、push_msg_ip、point_data_ip、imu_data_ip 。
Lidar IP 值对应下述 ip 。
LivoxViewer2 下载地址:
LiDAR Sensors - Livoxhttps://www.livoxtech.com/cn/downloadshttps://www.livoxtech.com/cn/downloads![]() https://www.livoxtech.com/cn/downloads
https://www.livoxtech.com/cn/downloads
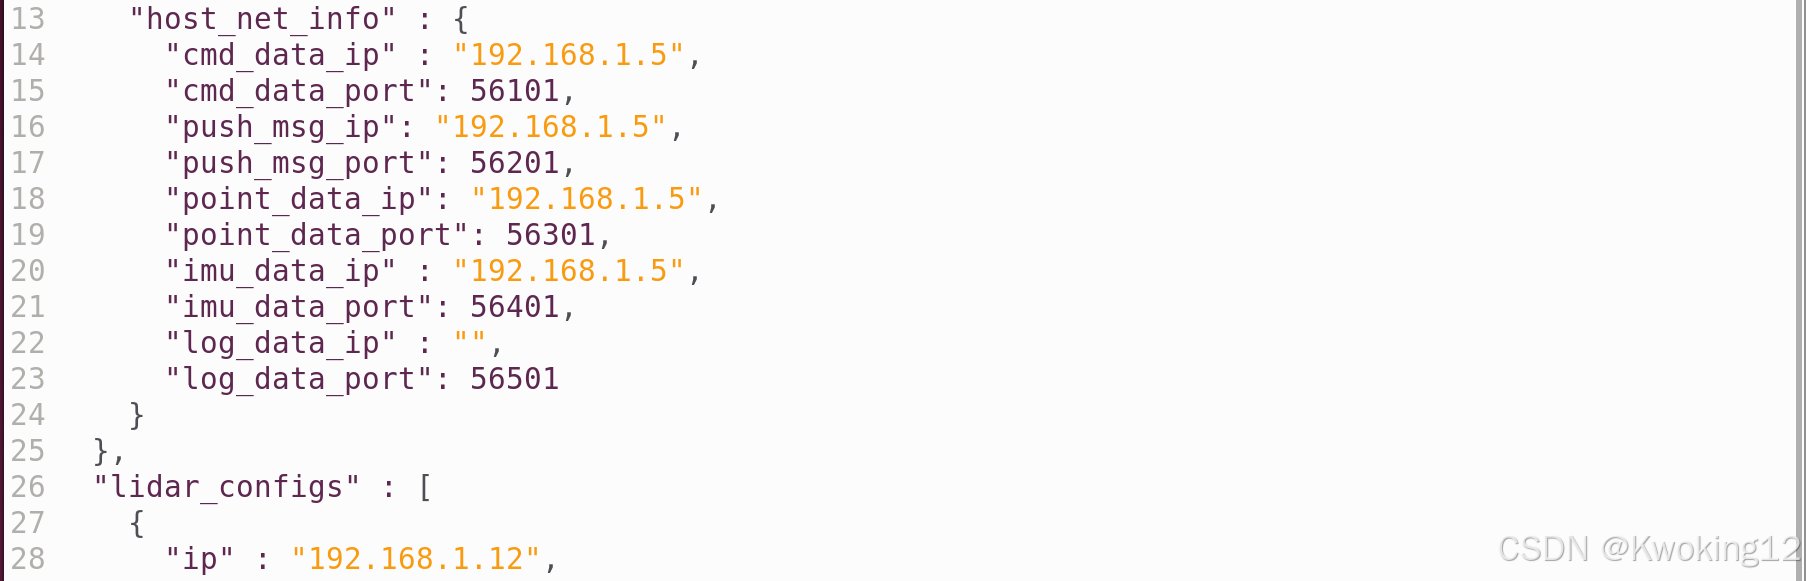
3.2 打开 Livox-SDK2/samples/livox_lidar_quick_start/mid360_config.json 文件。

修改 host_ip 为192.168.1.xx (Points IP、IMU IP、Lidar Infor IP )

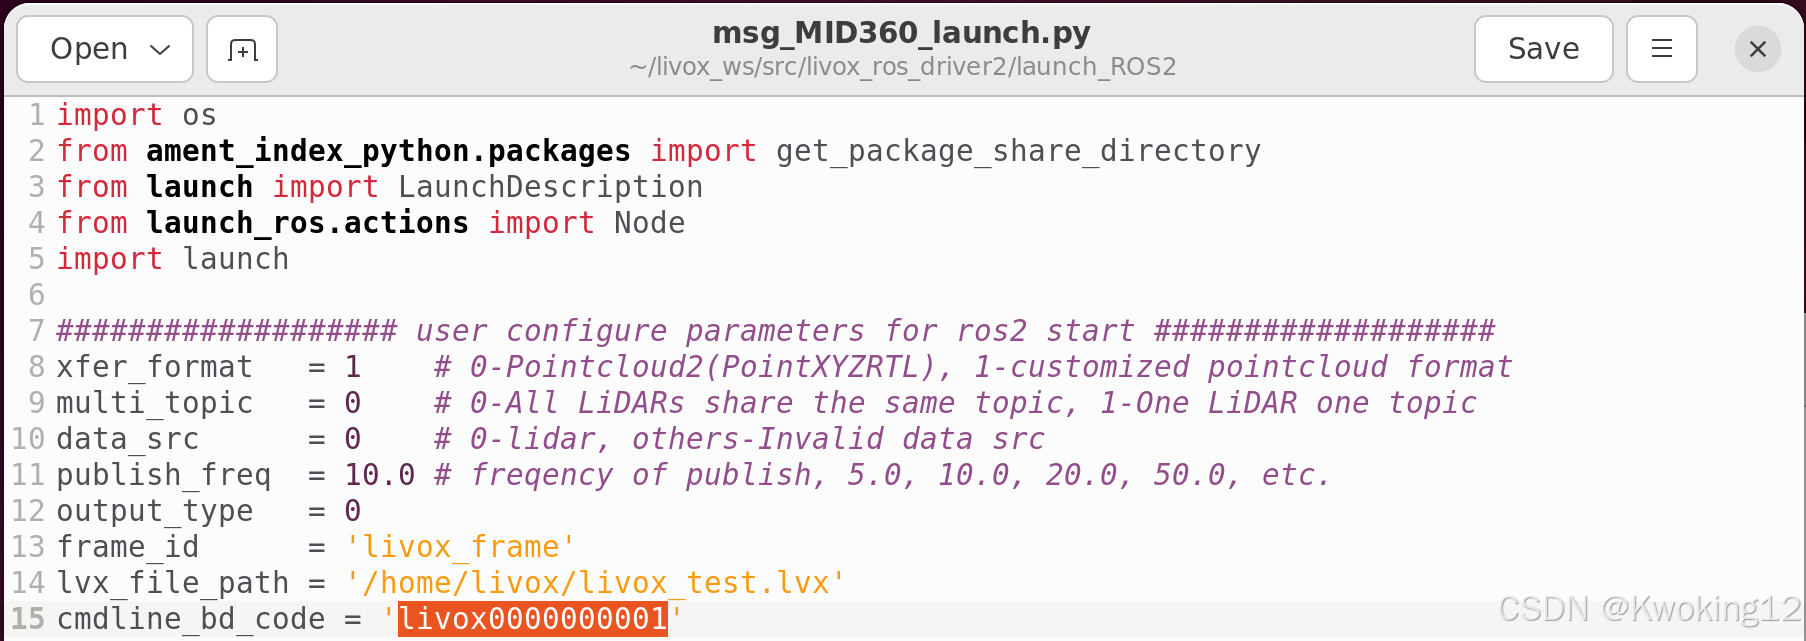
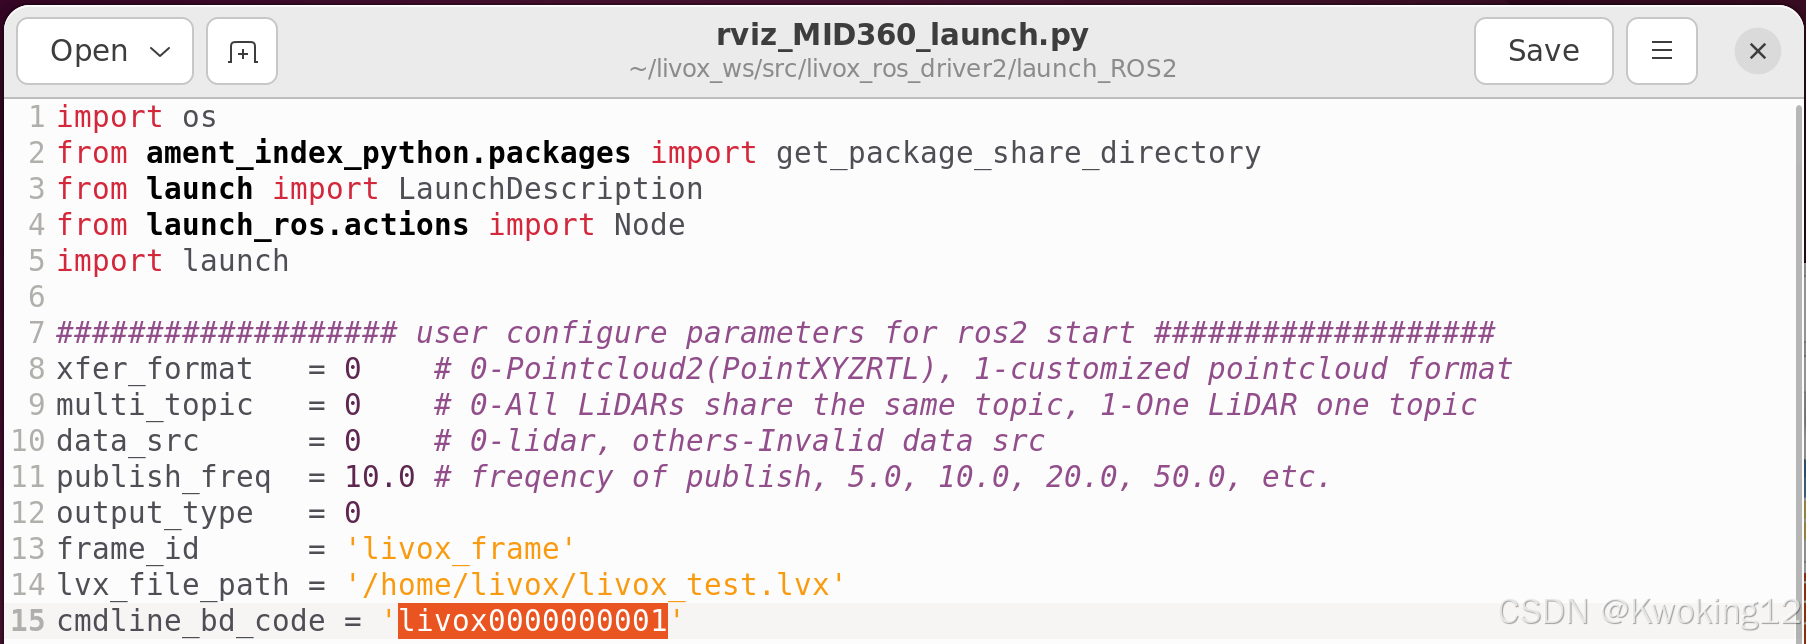
3.3 打开 livox_ws/src/livox_ros_driver2/launch_ROS2/msg_MID360_launch.py 文件、livox_ws/src/livox_ros_driver2/launch_ROS2/rviz_MID360_launch.py 文件。

将 msg_MID360_launch.py、rviz_MID360_launch.py 两个文件中的 cmdline_bd_code 值修改为 S/N 编码。
3.4 打开 livox_ws/src/livox_ros_driver2/config/MID360_config.json 文件。
打开 livox_ws/install/livox_ros_driver2/share/livox_ros_driver2/config/MID360_config.json 文件。
sudo nano /home/pi/livox_ws/install/livox_ros_driver2/share/livox_ros_driver2/config/MID360_config.json

sudo nano /home/pi/livox_ws/install/livox_ros_driver2/share/livox_ros_driver2/config/MID360_config.json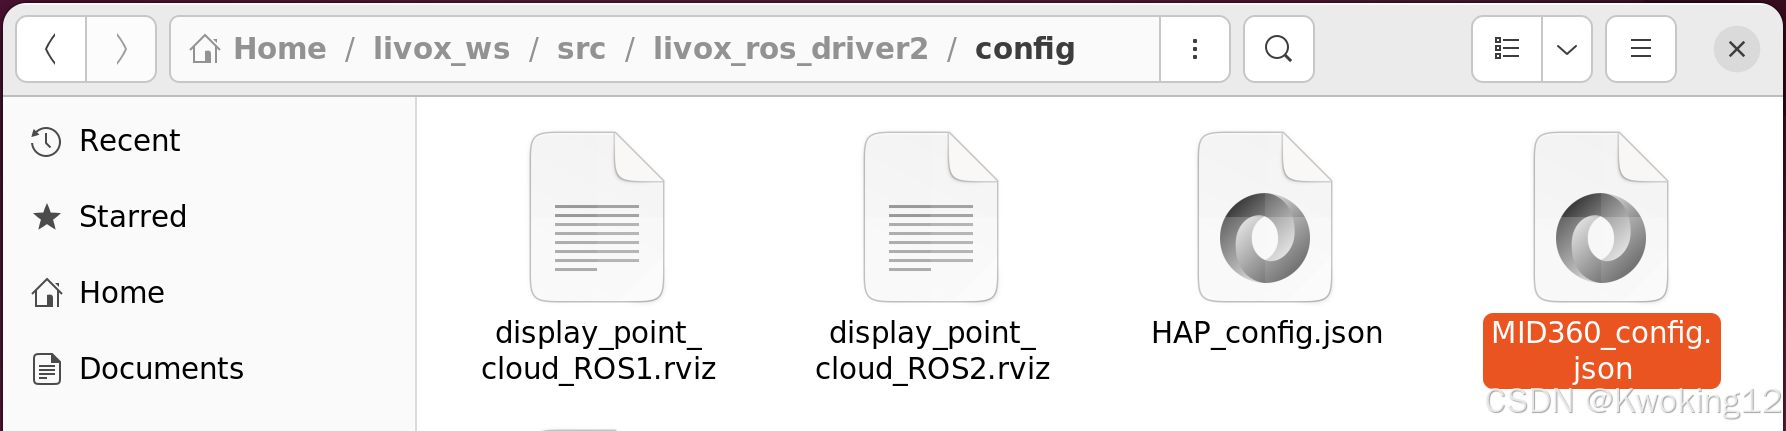
将 cmd_data_ip、push_msg_ip、point_data_ip、imu_data_ip 修改为192.168.1.xx (Points IP、IMU IP、Lidar Infor IP 值);将 ip 修改为192.168.1.xx (Lidar IP 值)。
4 雷达驱动确认
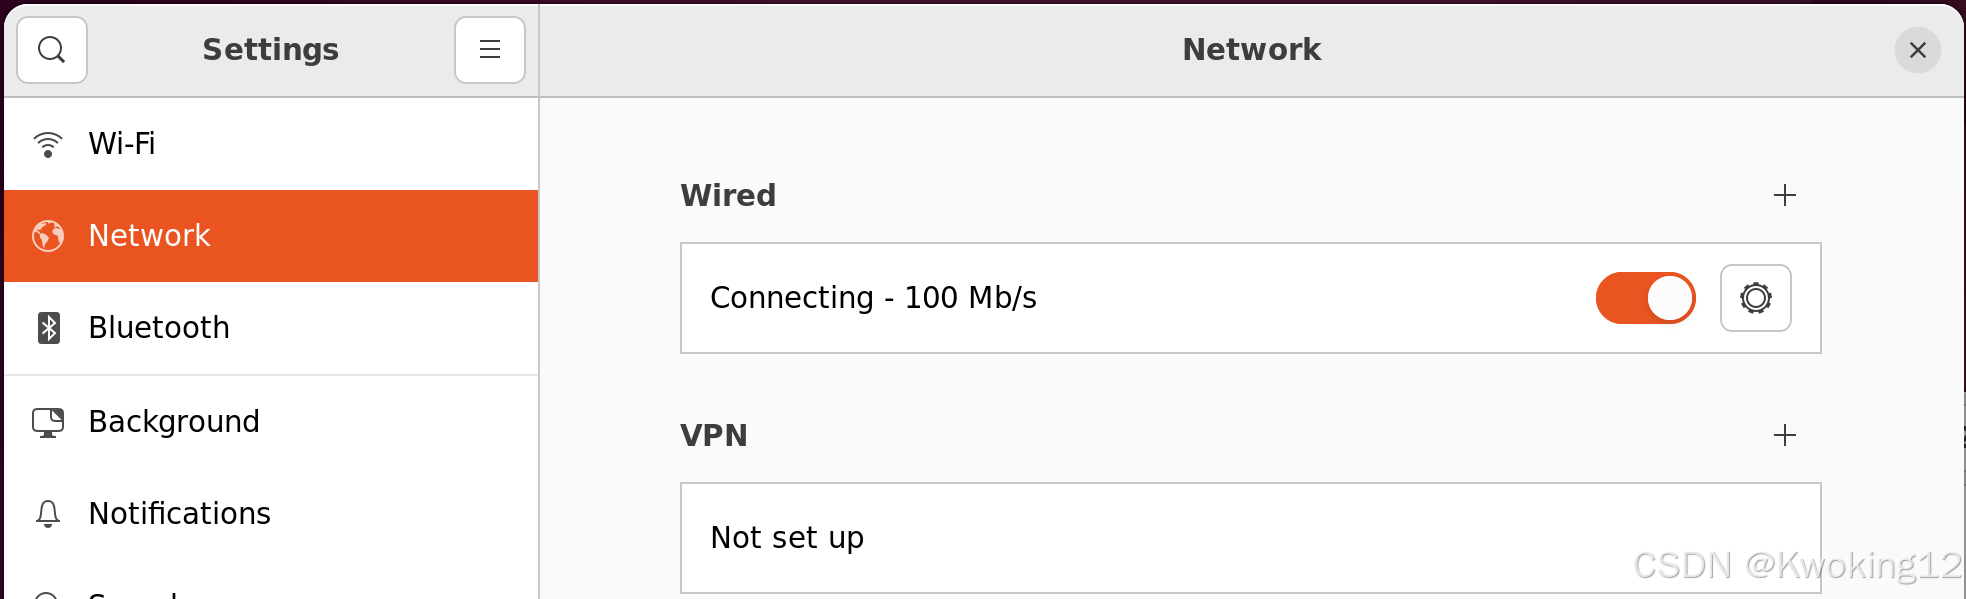
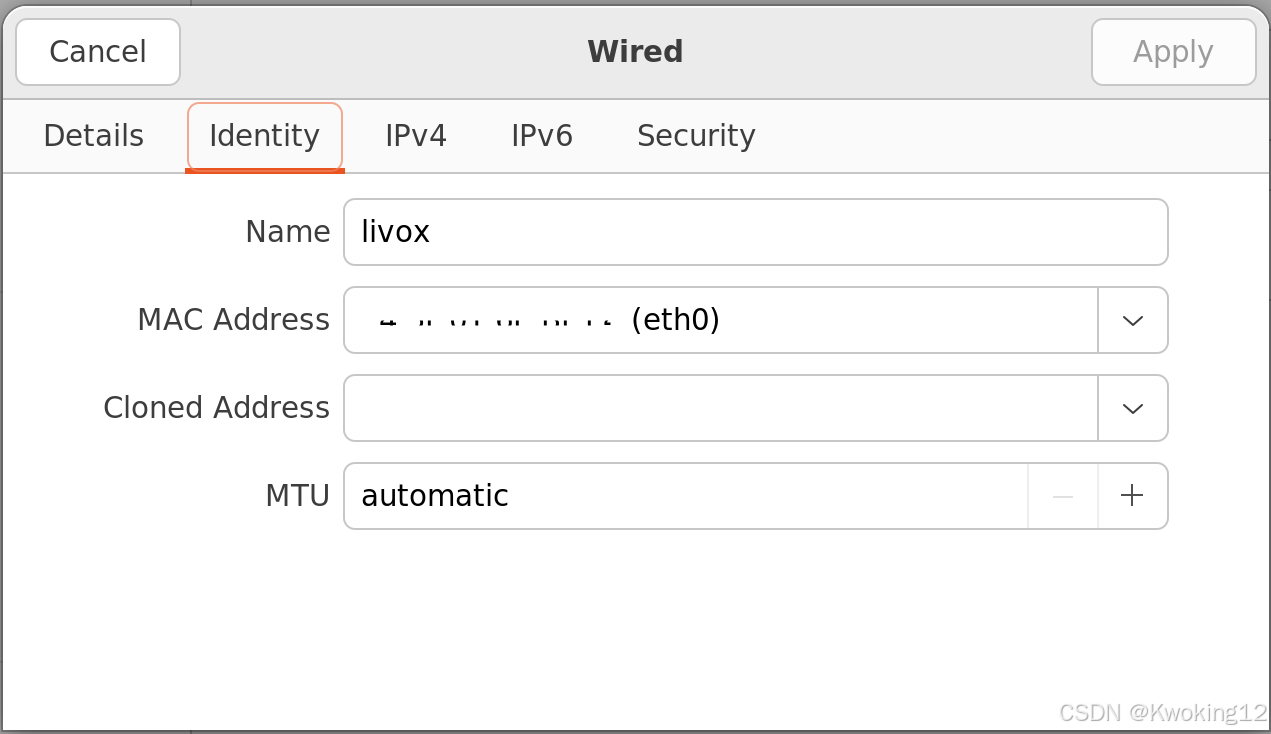
打开网络设置,启用有线连接,identity mac 地址填写选择 eth0 。
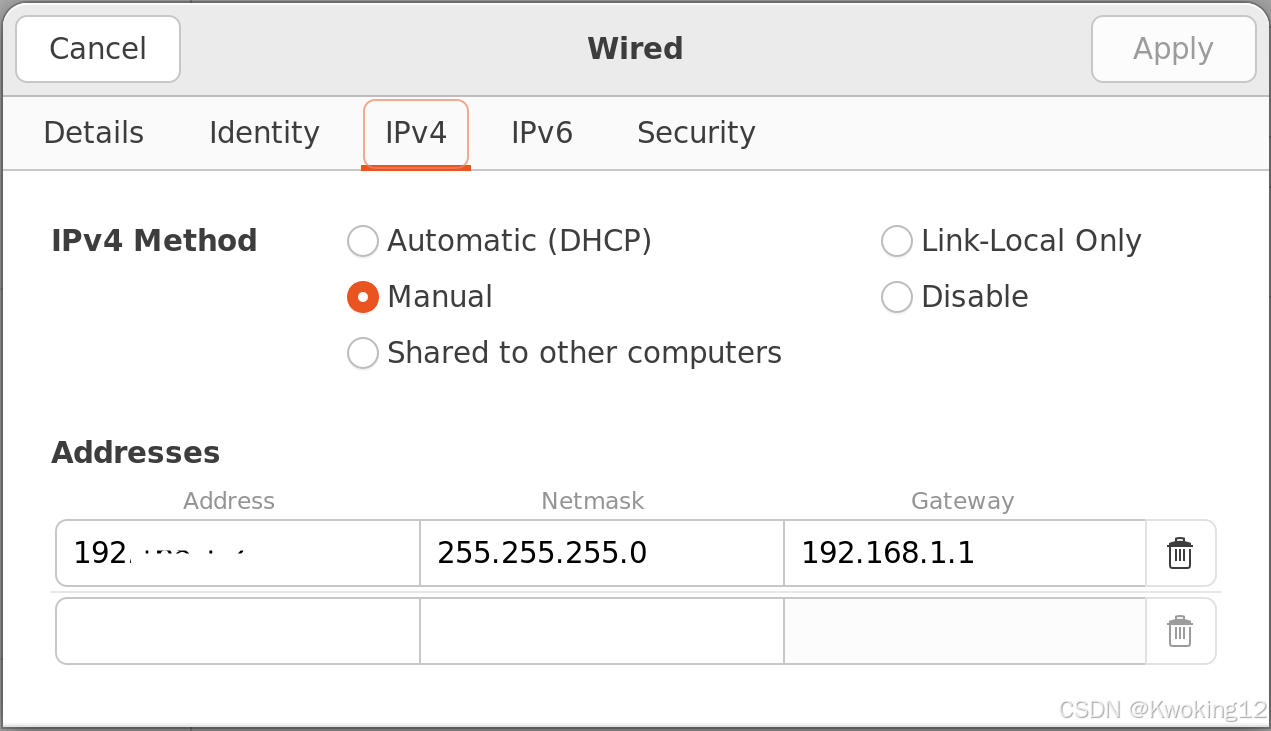
IPv4方式选择 手动,地址填写雷达 Lidar Infor IP , DNS 自动。
将雷达与树莓派连接,确认雷达驱动情况。
cd ~/livox_ws
source /opt/ros/humble/setup.bash
ros2 launch livox_ros_driver2 msg_MID360_launch.py
在另一终端,运行rivz。
cd ~/livox_ws
source /opt/ros/humble/setup.bash
ros2 launch livox_ros_driver2 rviz_MID360_launch.py
四、运行 fast_lio 实现建图