

玩机日记 13 飞牛部署AList并配置SSL,使用rclone挂载到本地
目录
1、部署alist,配置ssl
安装alist
参考官方文档添加网盘
配置ssl
开启webdav访问
2、配置rclone
更新rclone
配置rclone
测试挂载
添加开机自启
1、部署alist,配置ssl
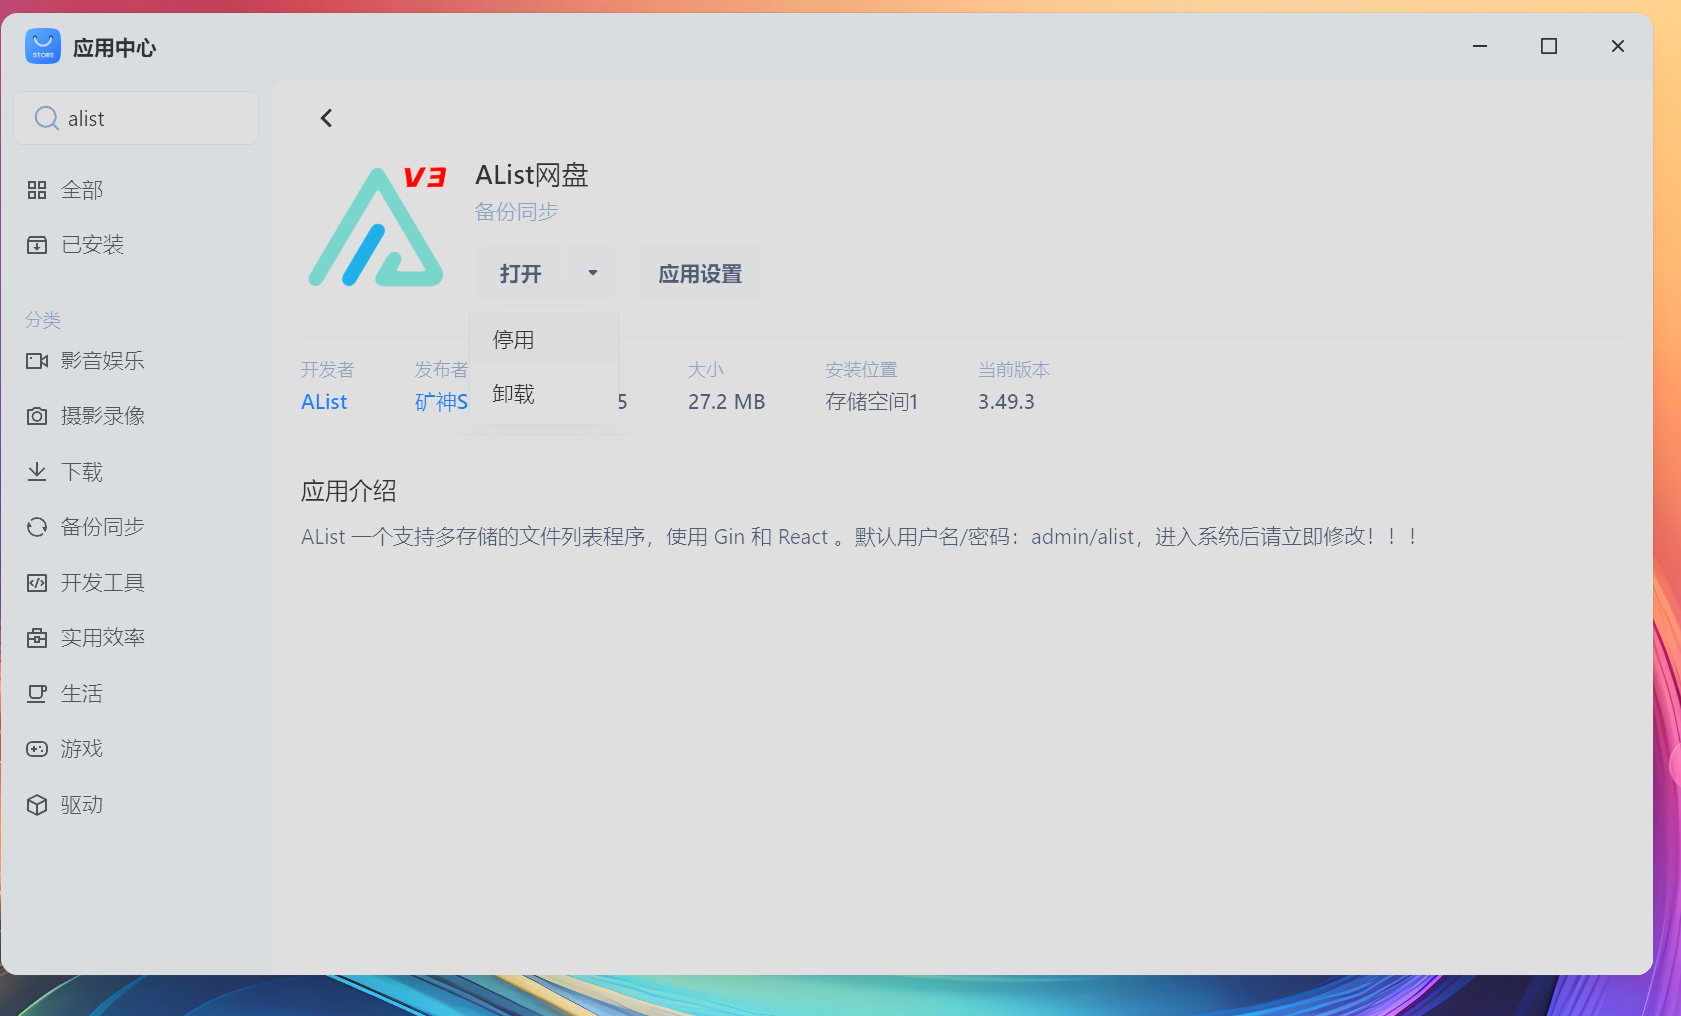
安装alist
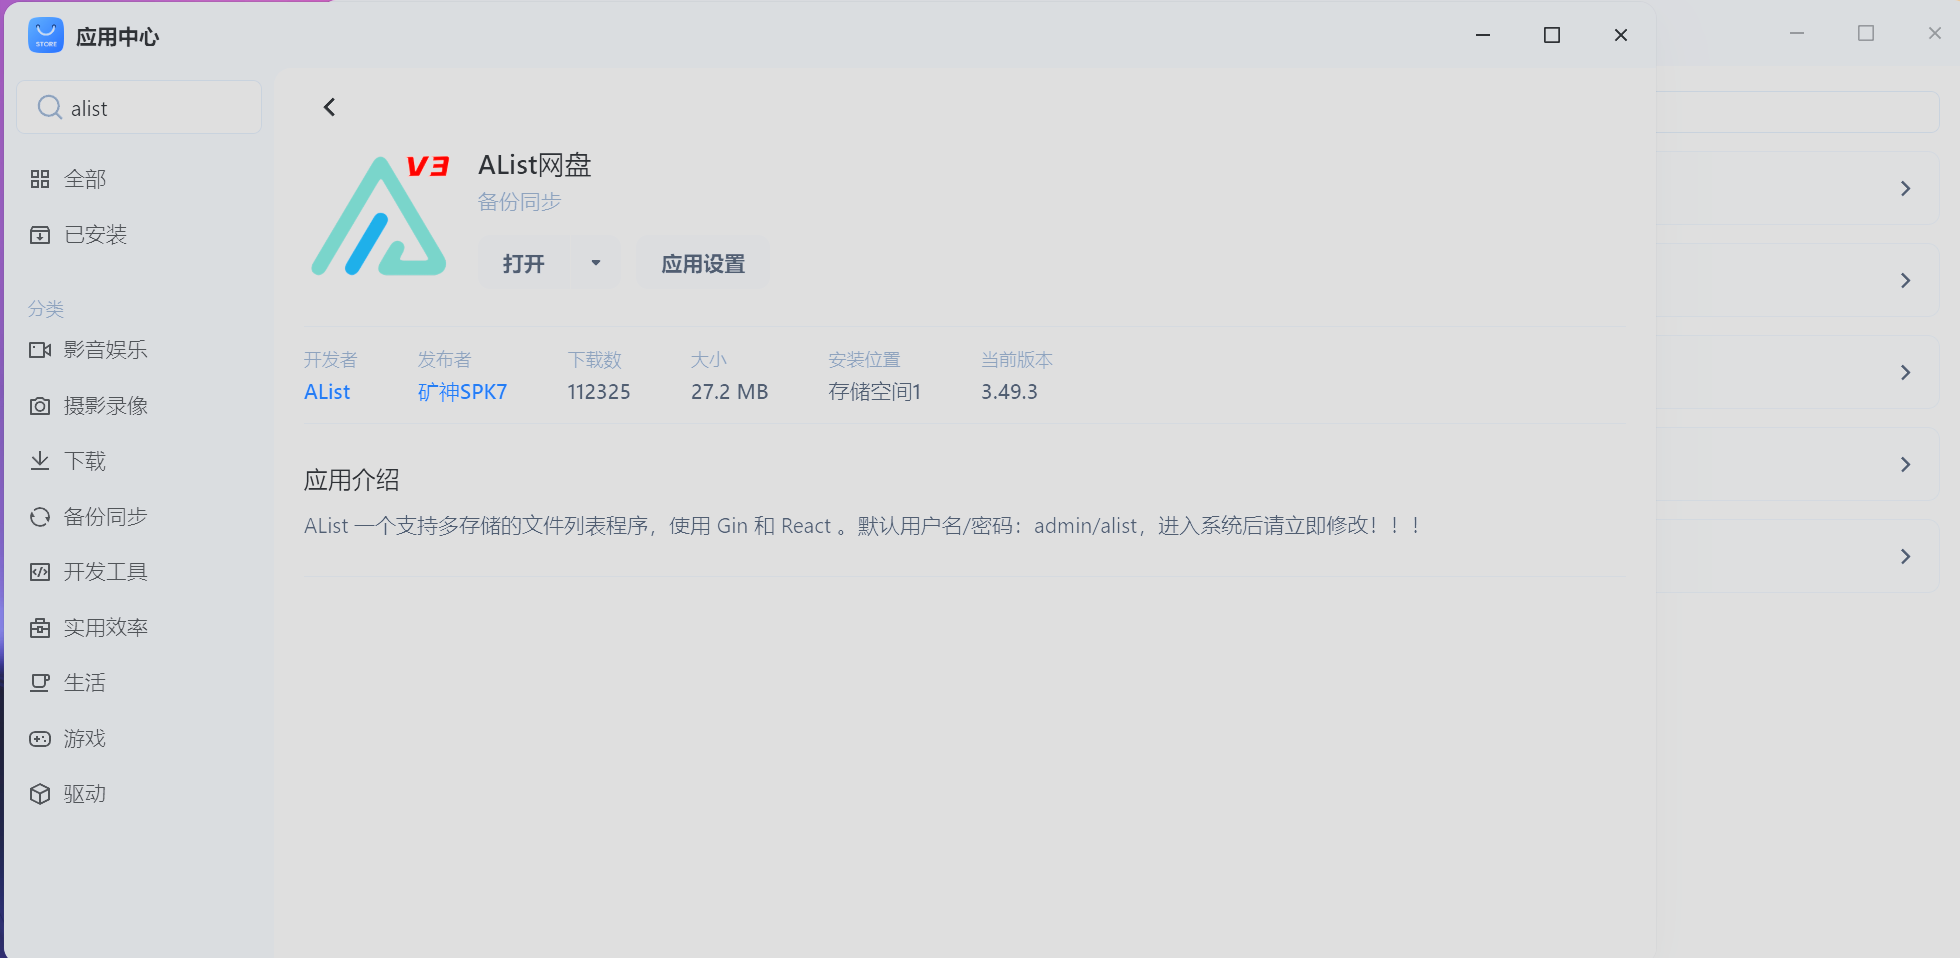
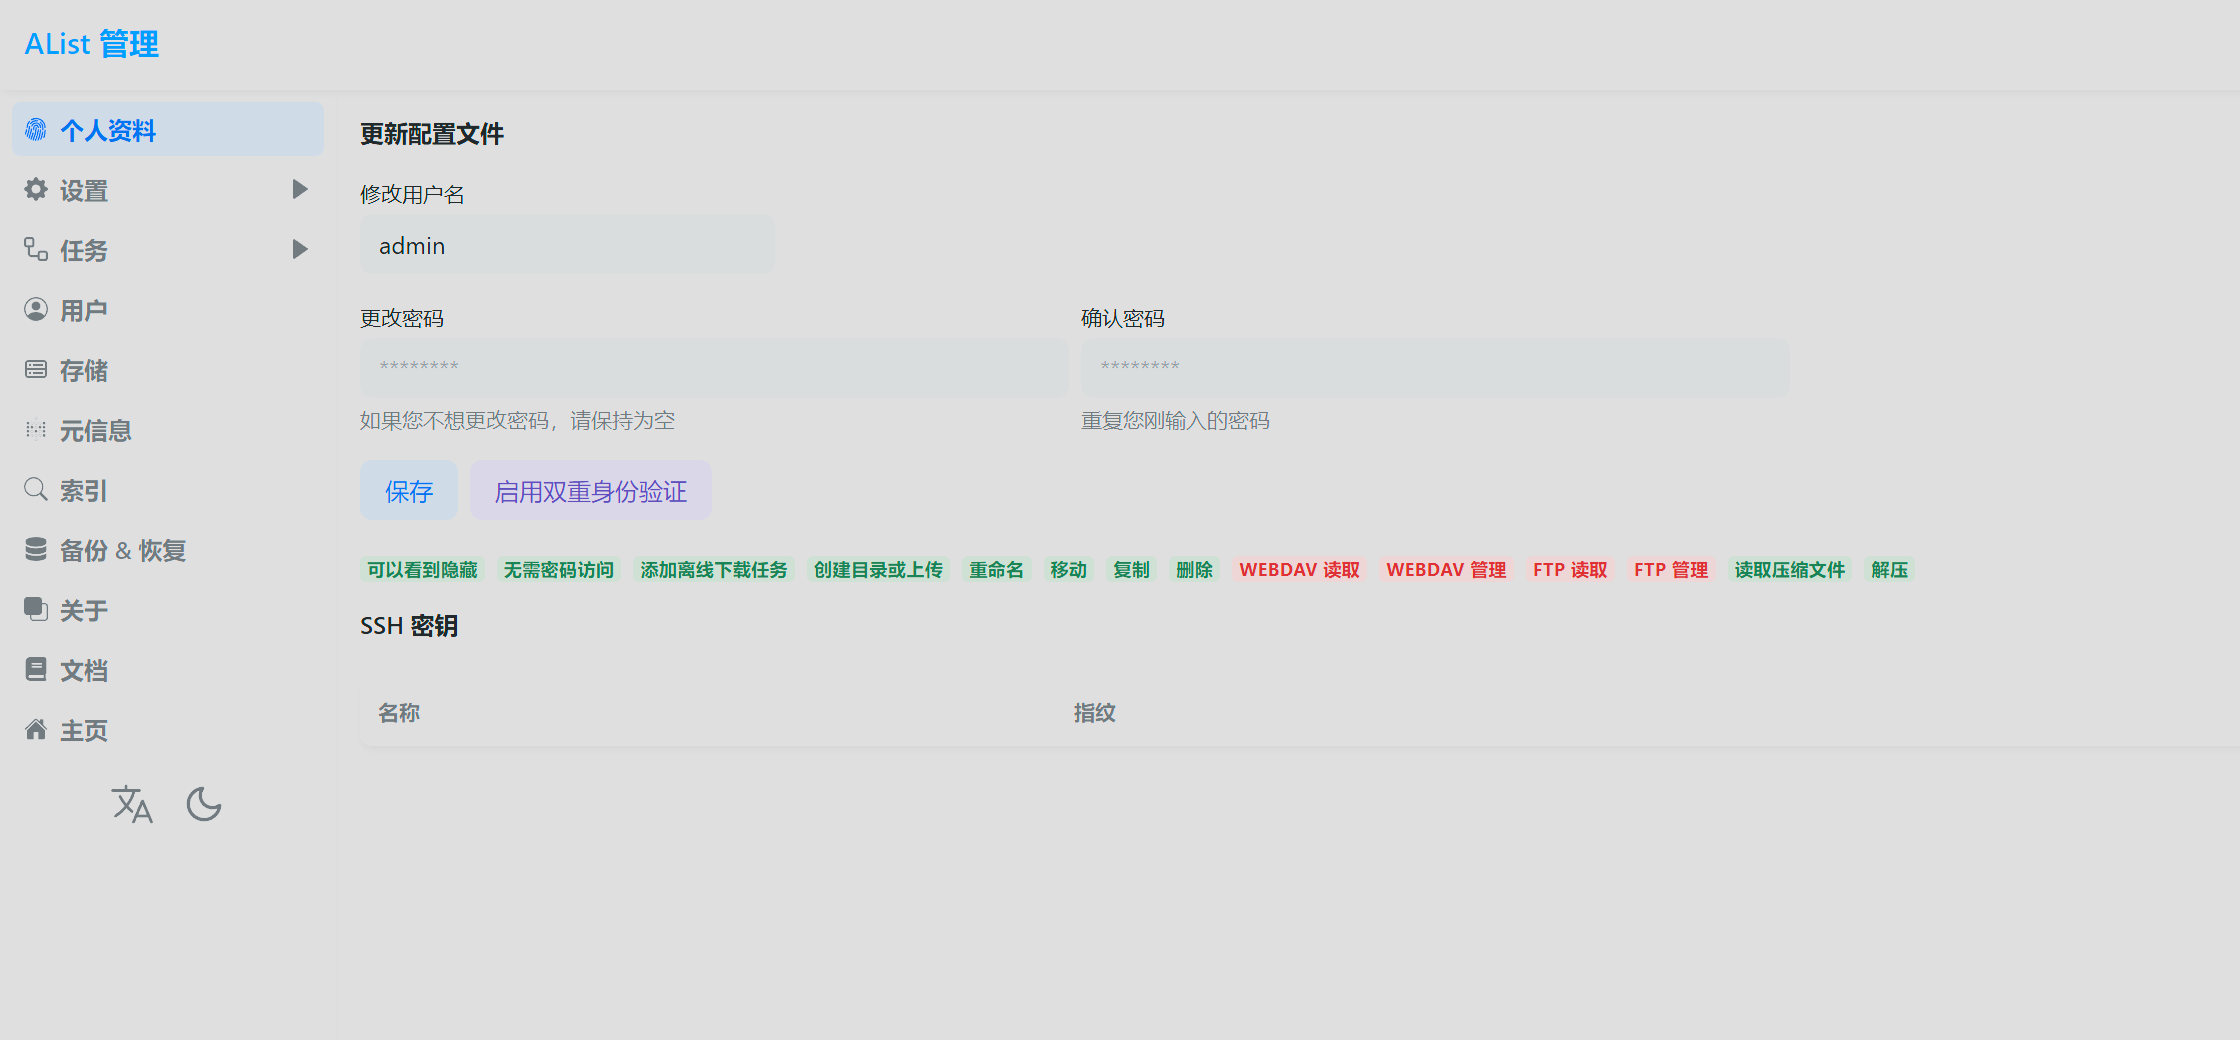
默认账号/密码是admin/alist,打开之后点击底下的管理,第一件事先修改账号密码
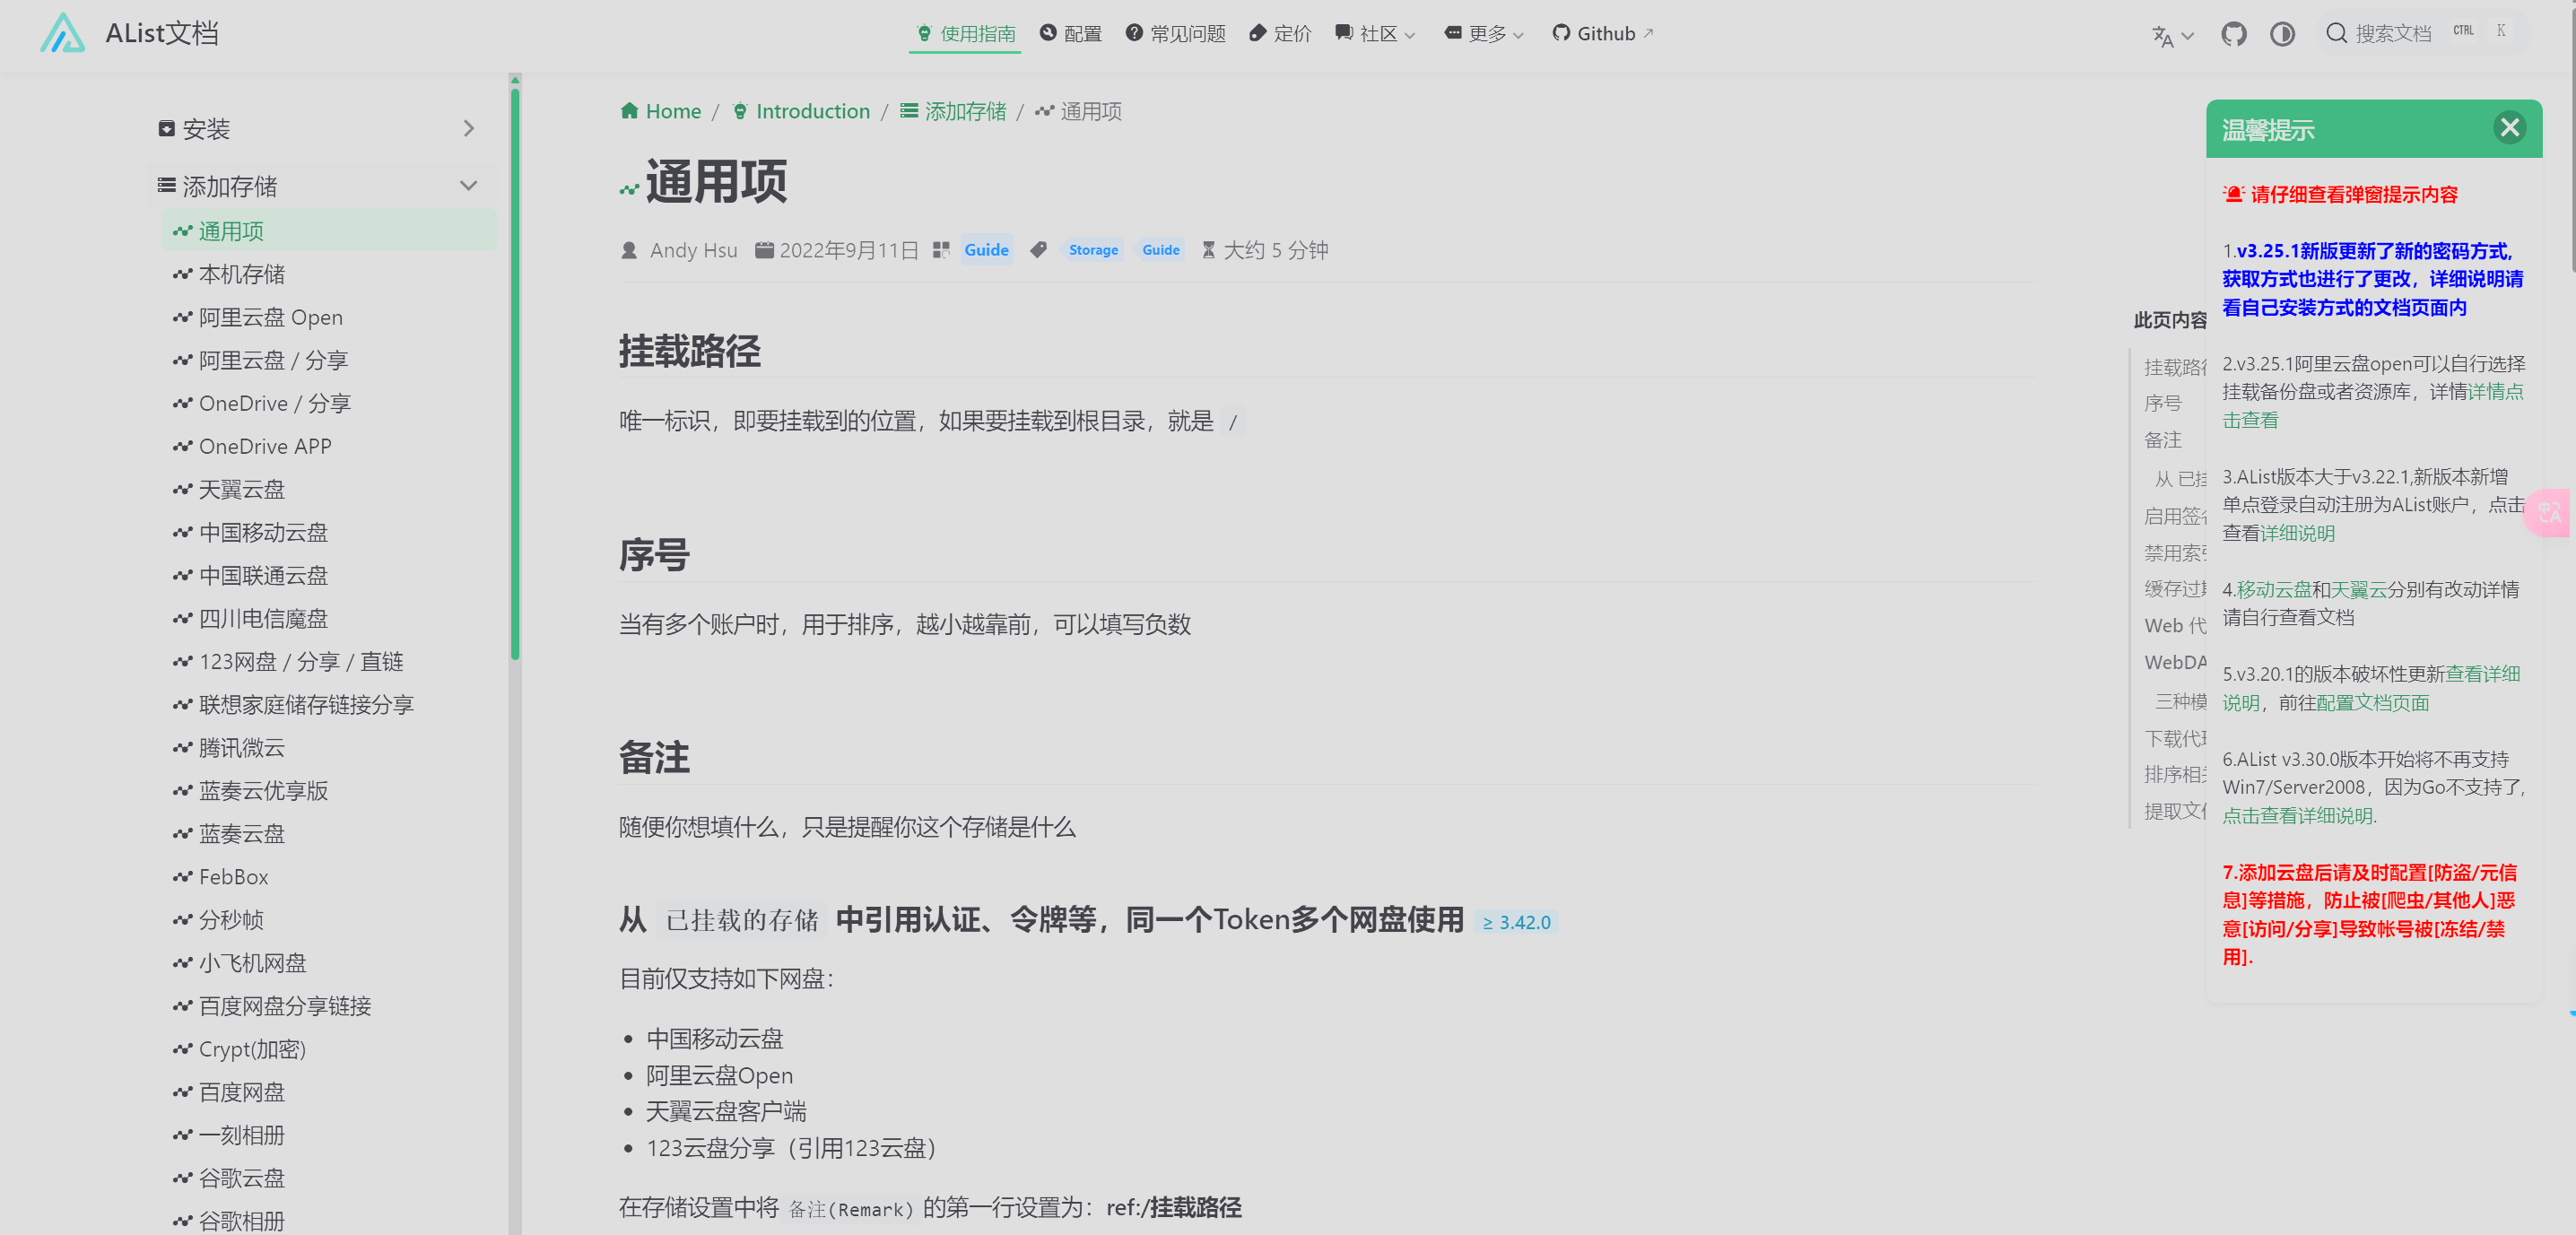
参考官方文档添加网盘
通用项 | AList文档
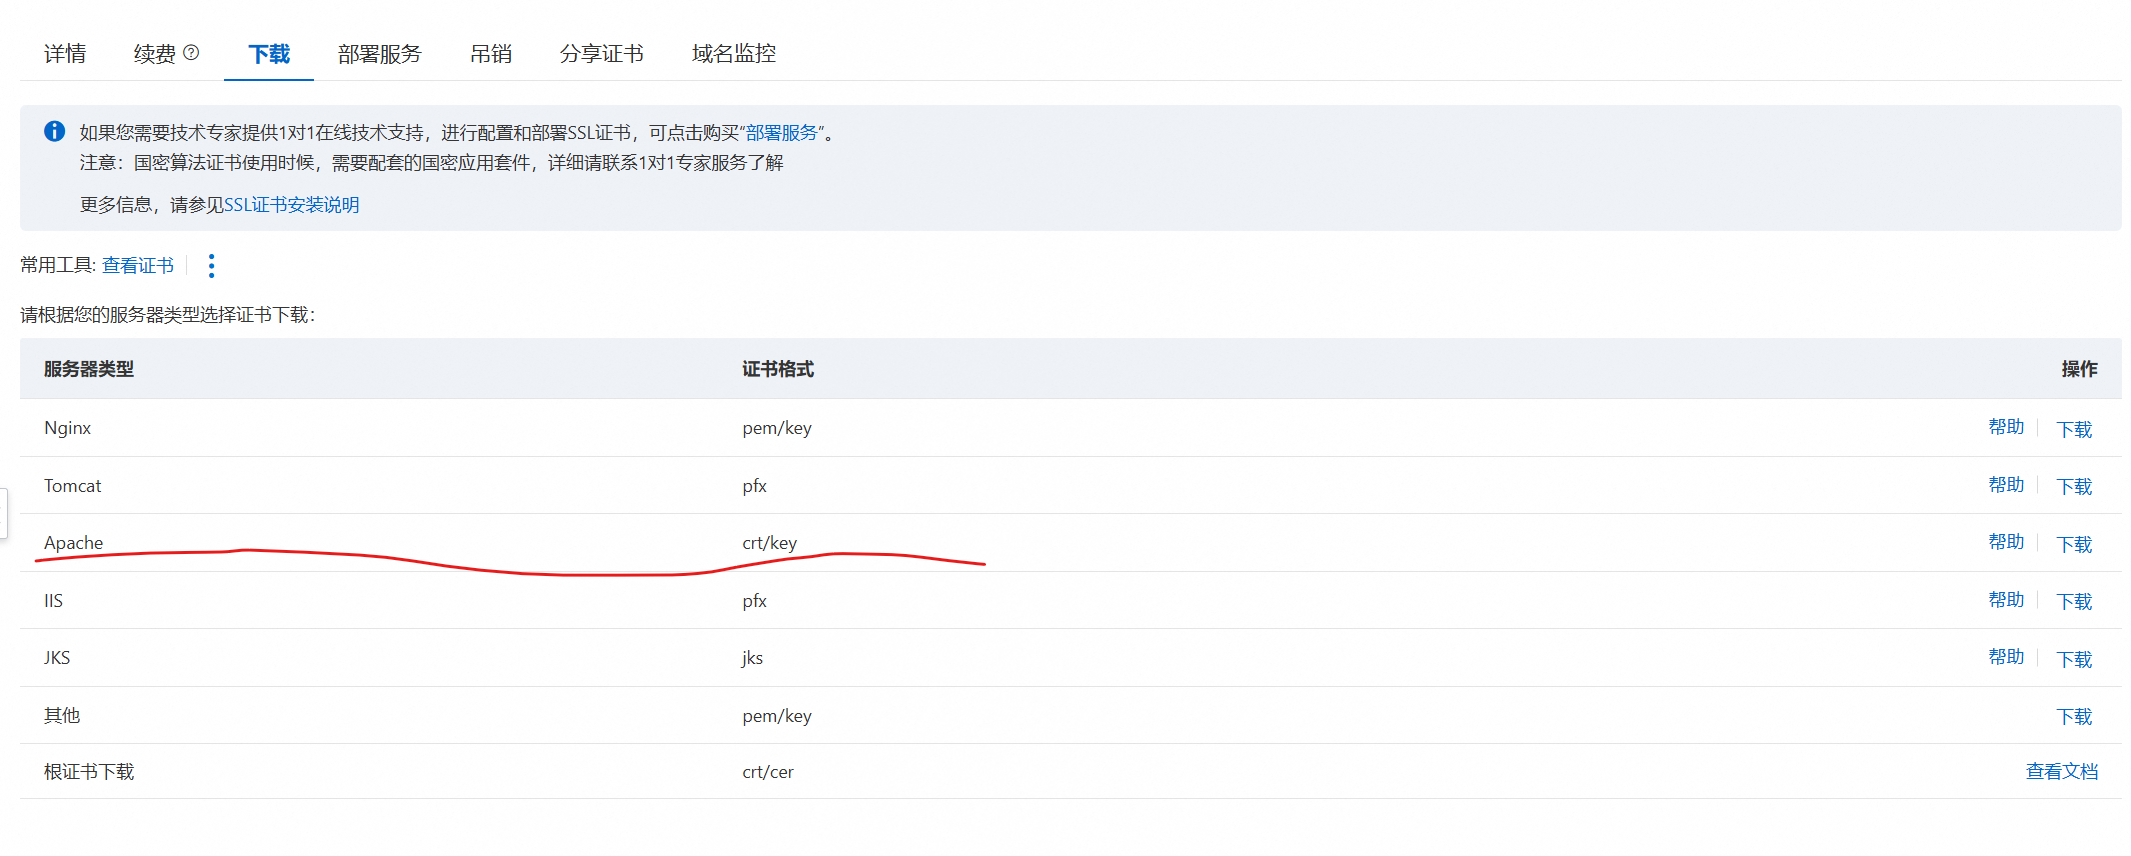
配置ssl
下载crt证书,可参考
玩机日记 1 前期准备工作:申请公网ipv4、购买域名、申请SSL证书-CSDN博客玩机日记 3 PVE配置SSL证书,主路由端口转发,实现远程访问PVE-CSDN博客
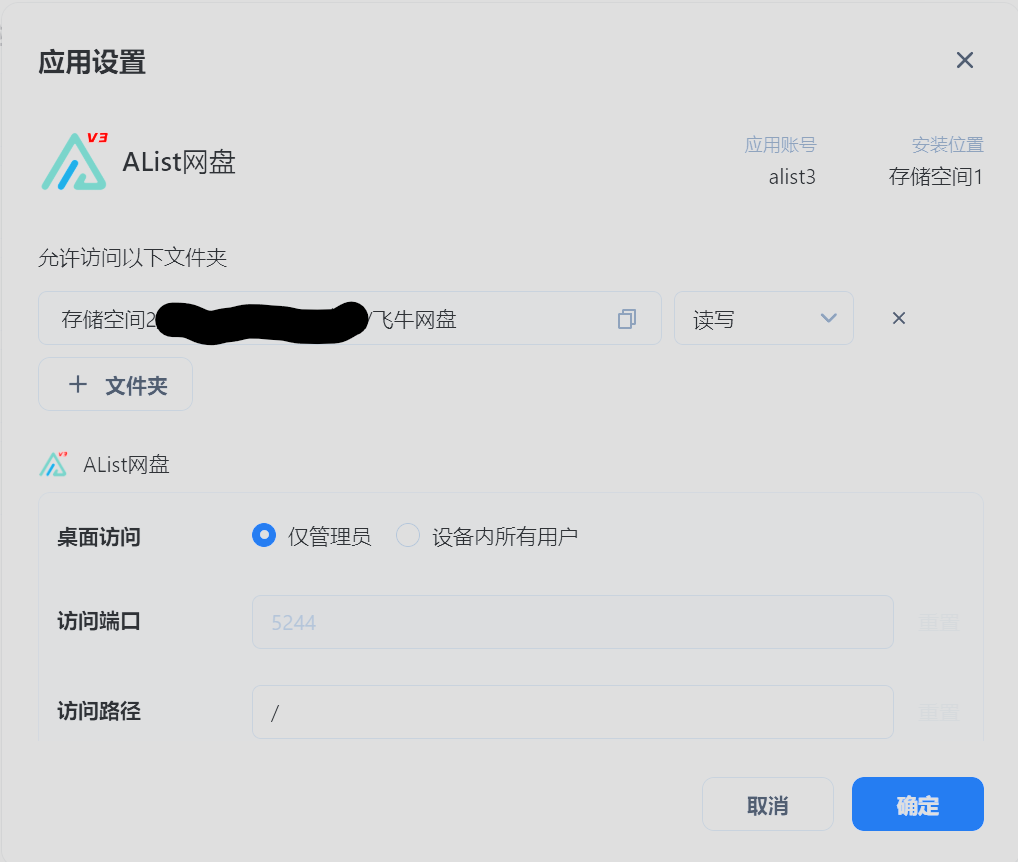
飞牛的应用设置,添加文件夹权限,确保alist可以访问
#如果添加完还是访问不了,请执行
chmod 777 -R /volX
#需要把/volX修改为文件夹实际所在的硬盘,比如它在vol2,就执行
chmod 777 -R /vol2
证书下载下来可能是三个文件,一个public.crt,一个chain.crt,需要把它们合成一个完整的证书
cat public.crt chain.crt > fullchain.crt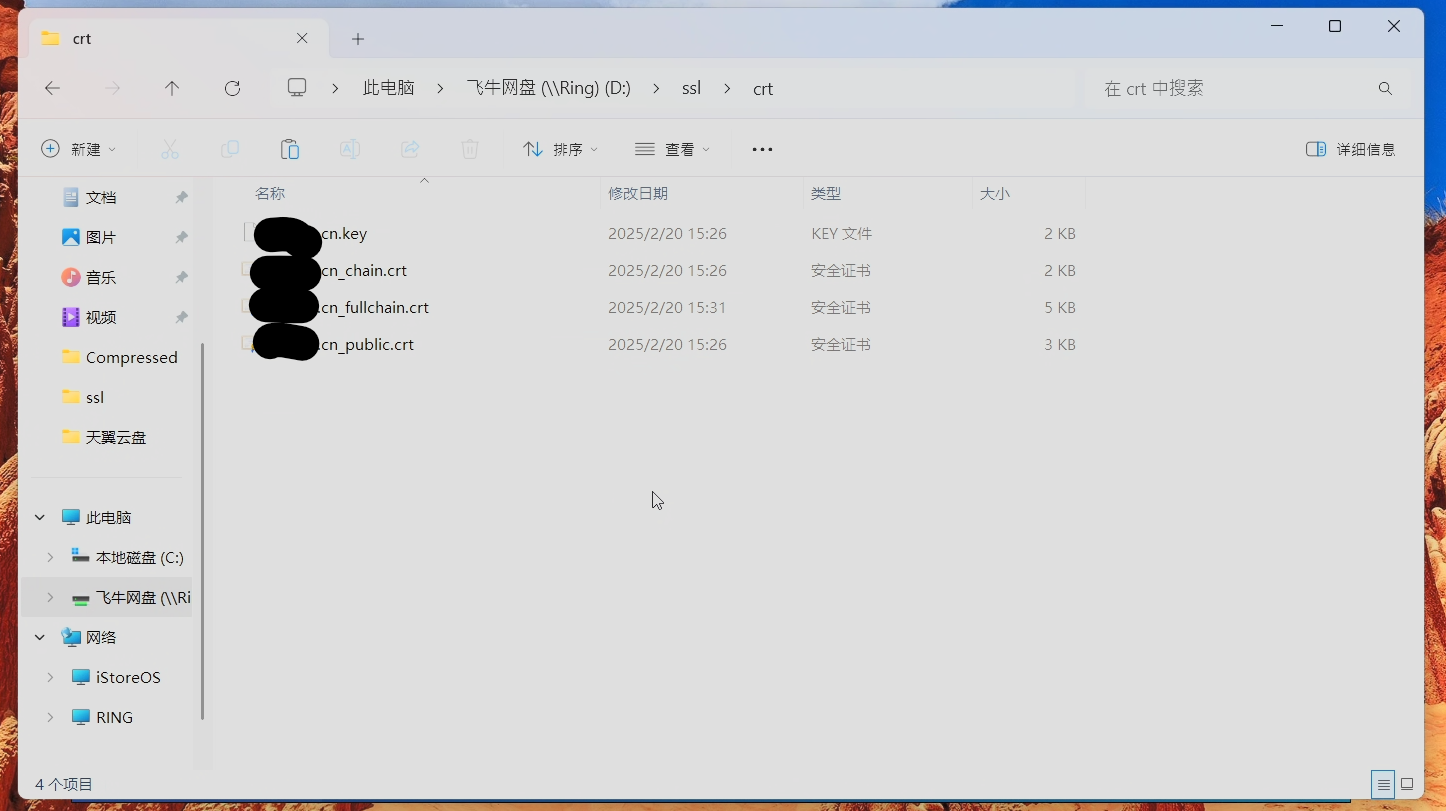
修改alist的config.json
nano /vol1/@appdata/alist3/config.json
#如果你的alist不是安装在储存空间1,比如说在储存空间2,那就把vol1改成vol2
找到这一段
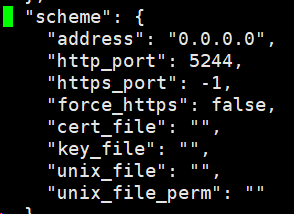
修改成这样,两个file就是存放crt证书的路径
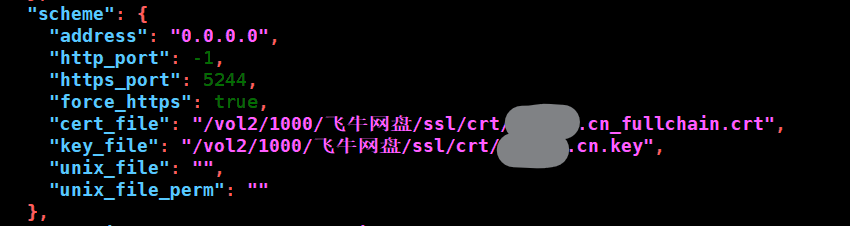
重启alist
成功添加了证书
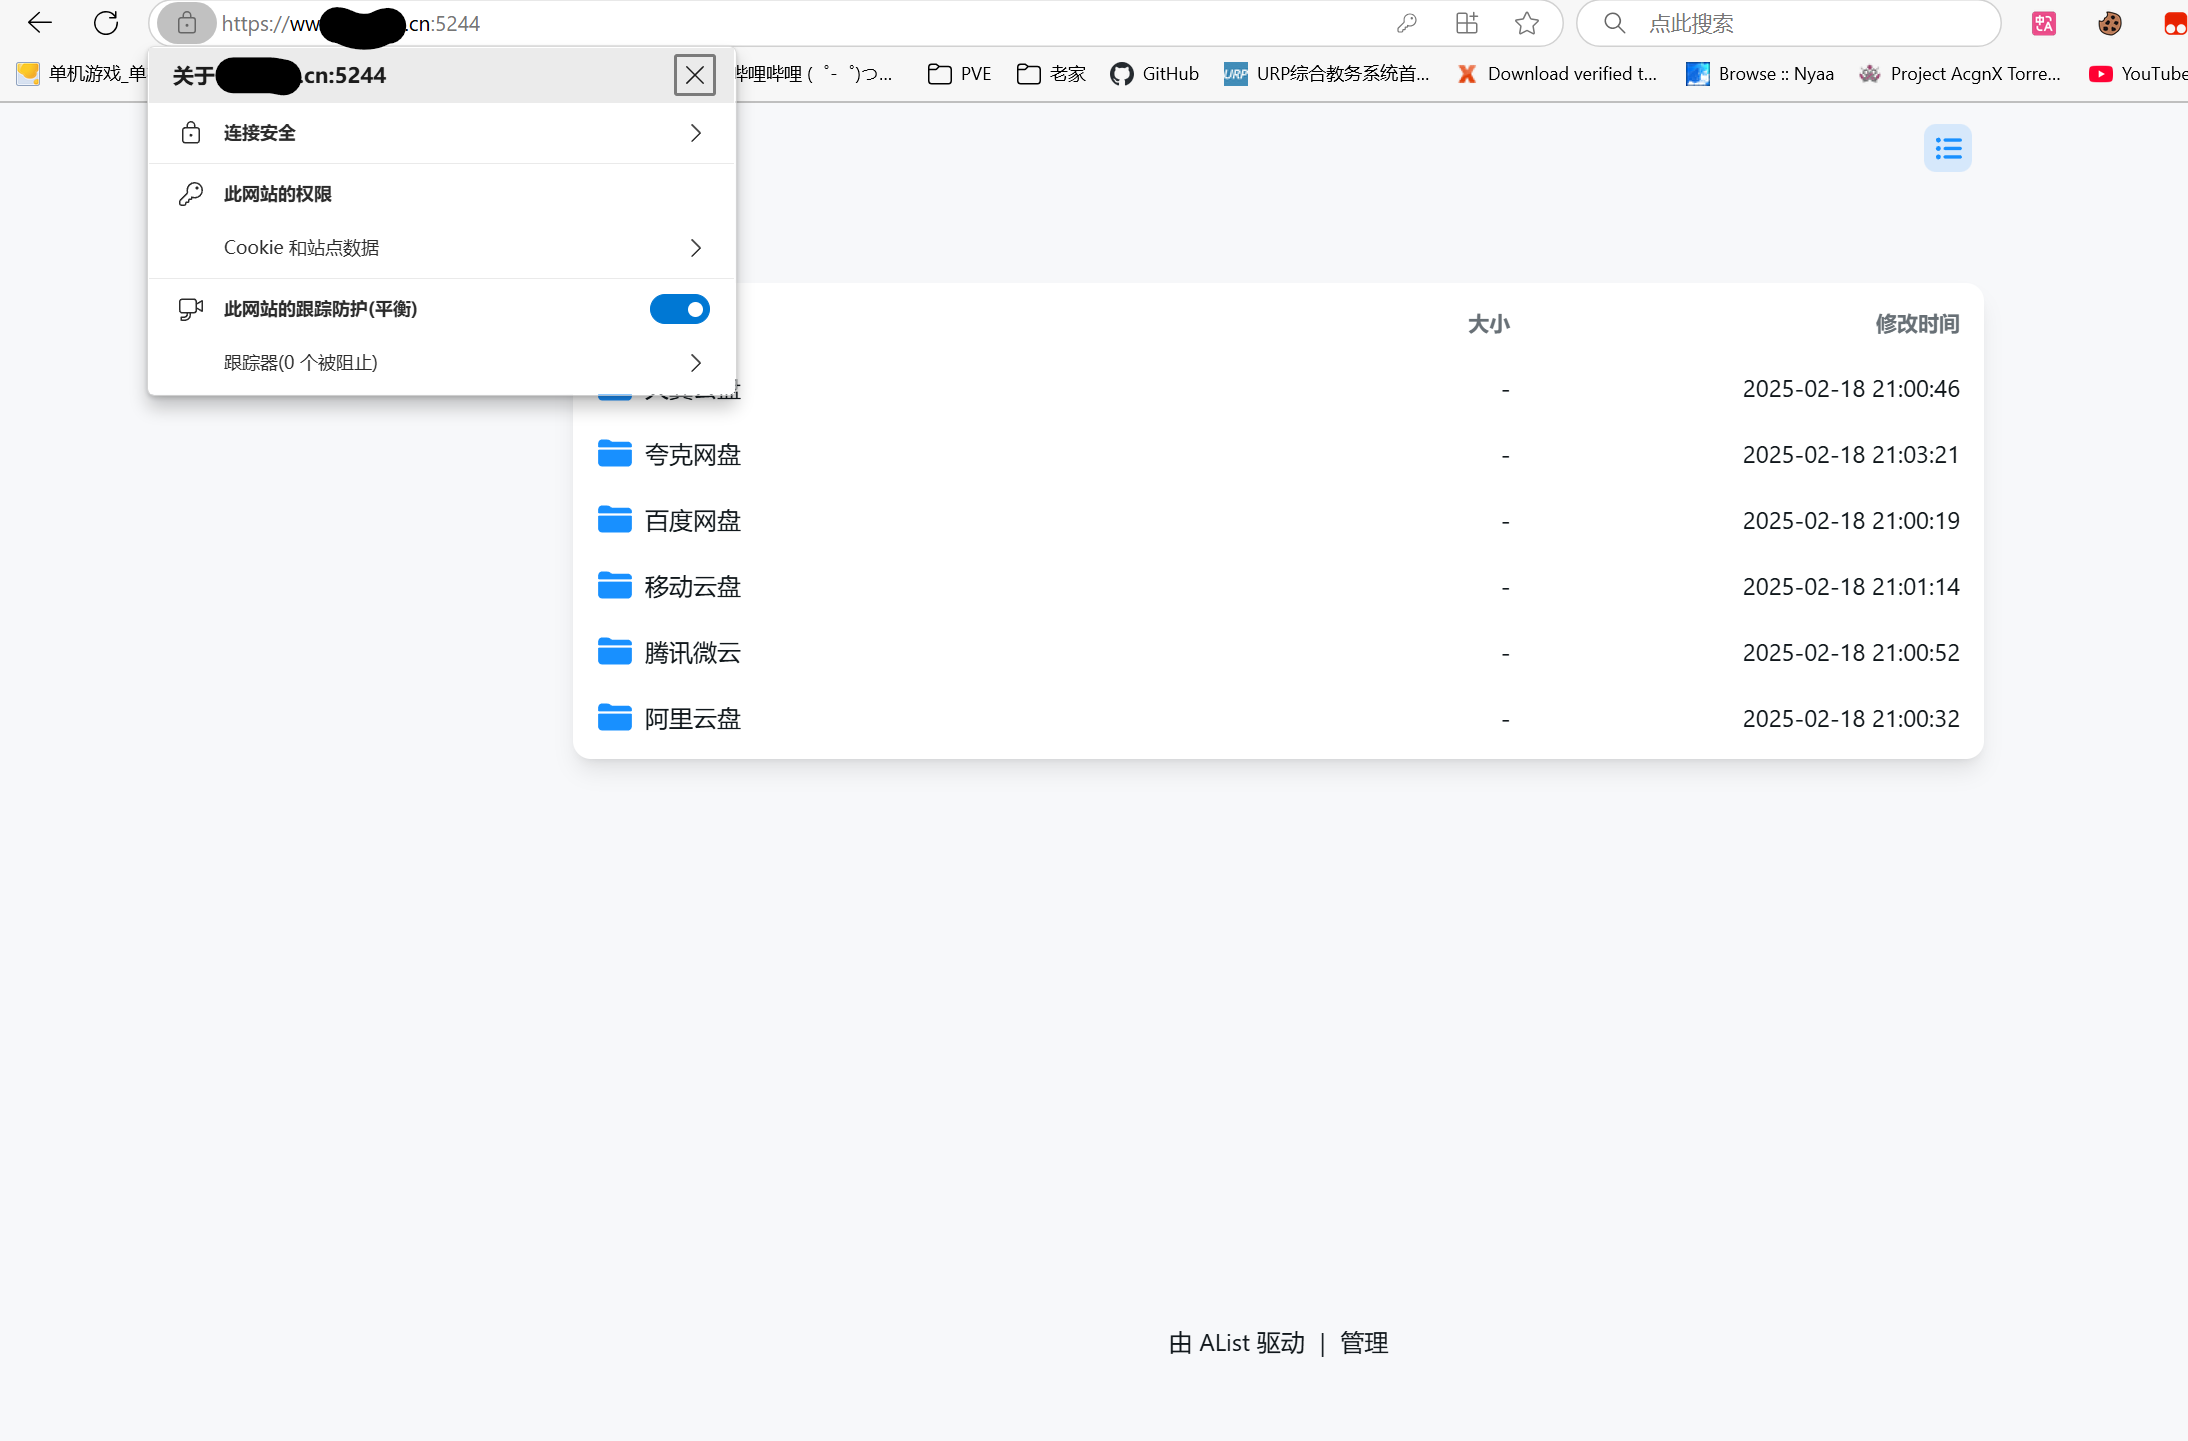
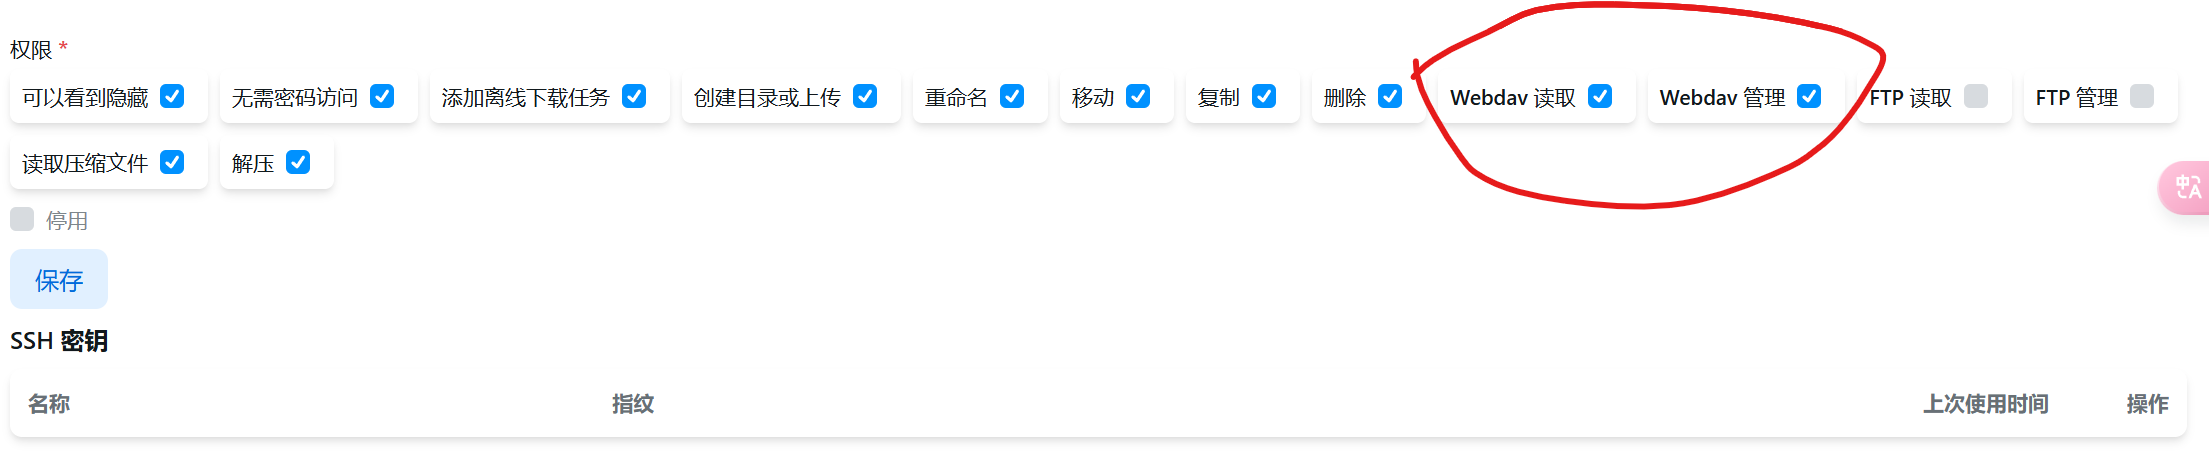
开启webdav访问

2、配置rclone
更新rclone
fnos应该默认内置了rclone。如果没有的话就先安装一下
apt install rclone fuse3 -y不过呢,自带的rclone版本太低了而且不能更新,有一些一会会用到的参数它不支持。所以我们还得手动更新一下
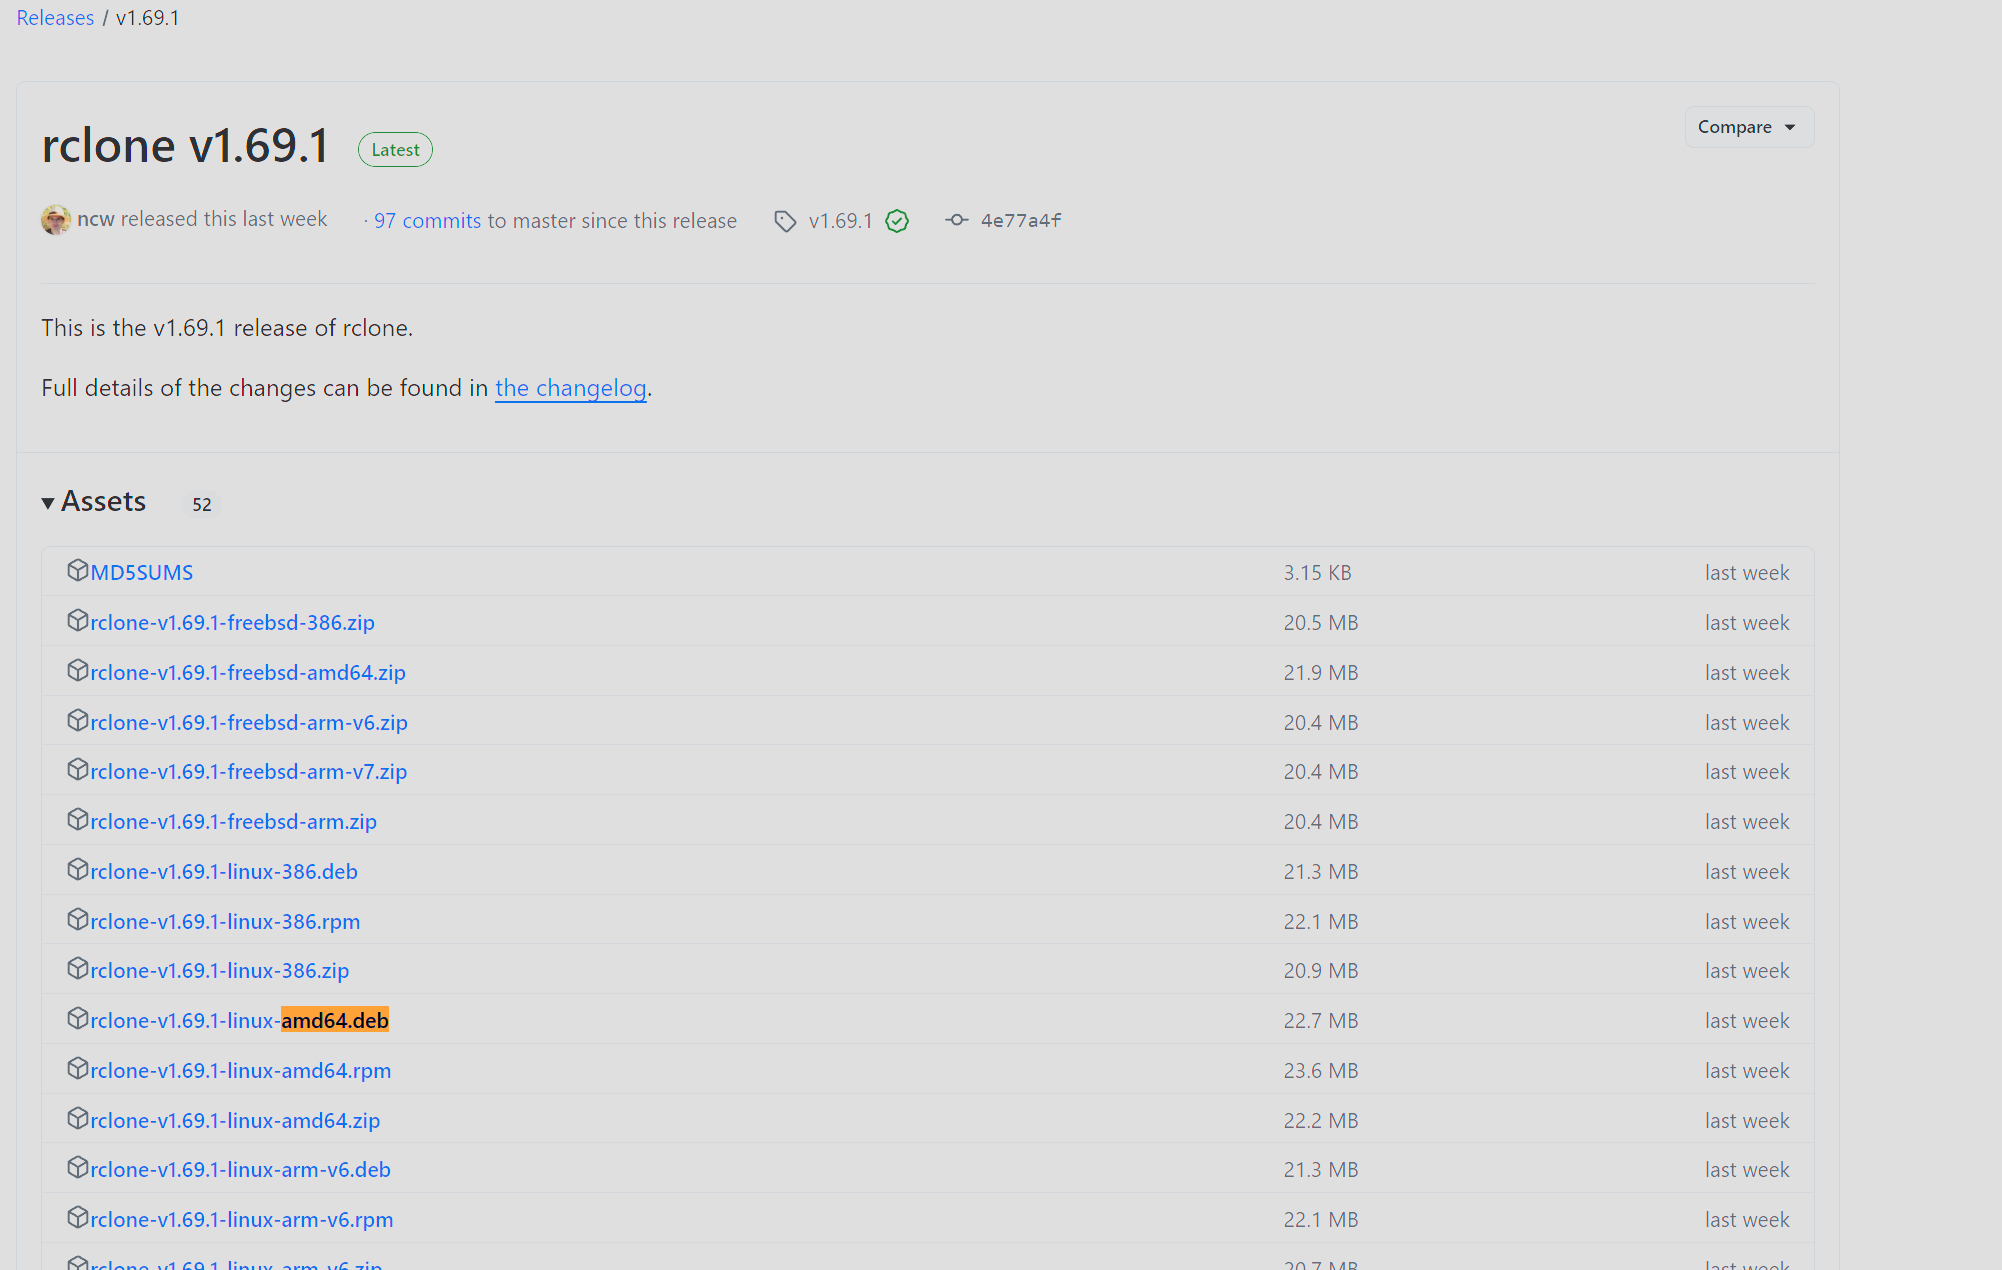
下载最新版,选择合适的安装包。对于fnos,你至少应该下载deb包,至于amd64还是armv7等等,就看你的硬件架构了
rclone/rclone: "rsync for cloud storage" - Google Drive, S3, Dropbox, Backblaze B2, One Drive, Swift, Hubic, Wasabi, Google Cloud Storage, Azure Blob, Azure Files, Yandex Files
下载完安装一下
dpkg -i rclone-v1.69.1-linux-amd64.deb
配置rclone
#输入
rclone config
root@RiNG:~# rclone config
No remotes found, make a new one?
n) New remote
s) Set configuration password
q) Quit config
n/s/q> n #新建remote
Enter name for new remote.
name> AList #给新建的remote起个名字
Option Storage.
Type of storage to configure.
Choose a number from below, or type in your own value.
1 / 1Fichier
(fichier)
2 / Akamai NetStorage
(netstorage)
3 / Alias for an existing remote
(alias)
4 / Amazon S3 Compliant Storage Providers including AWS, Alibaba, ArvanCloud, Ceph, ChinaMobile, Cloudflare, DigitalOcean, Dreamhost, GCS, HuaweiOBS, IBMCOS, IDrive, IONOS, LyveCloud, Leviia, Liara, Linode, Magalu, Minio, Netease, Petabox, RackCorp, Rclone, Scaleway, SeaweedFS, StackPath, Storj, Synology, TencentCOS, Wasabi, Qiniu and others
(s3)
5 / Backblaze B2
(b2)
6 / Better checksums for other remotes
(hasher)
7 / Box
(box)
8 / Cache a remote
(cache)
9 / Citrix Sharefile
(sharefile)
10 / Combine several remotes into one
(combine)
11 / Compress a remote
(compress)
12 / Dropbox
(dropbox)
13 / Encrypt/Decrypt a remote
(crypt)
14 / Enterprise File Fabric
(filefabric)
15 / FTP
(ftp)
16 / Files.com
(filescom)
17 / Gofile
(gofile)
18 / Google Cloud Storage (this is not Google Drive)
(google cloud storage)
19 / Google Drive
(drive)
20 / Google Photos
(google photos)
21 / HTTP
(http)
22 / Hadoop distributed file system
(hdfs)
23 / HiDrive
(hidrive)
24 / ImageKit.io
(imagekit)
25 / In memory object storage system.
(memory)
26 / Internet Archive
(internetarchive)
27 / Jottacloud
(jottacloud)
28 / Koofr, Digi Storage and other Koofr-compatible storage providers
(koofr)
29 / Linkbox
(linkbox)
30 / Local Disk
(local)
31 / Mail.ru Cloud
(mailru)
32 / Mega
(mega)
33 / Microsoft Azure Blob Storage
(azureblob)
34 / Microsoft Azure Files
(azurefiles)
35 / Microsoft OneDrive
(onedrive)
36 / OpenDrive
(opendrive)
37 / OpenStack Swift (Rackspace Cloud Files, Blomp Cloud Storage, Memset Memstore, OVH)
(swift)
38 / Oracle Cloud Infrastructure Object Storage
(oracleobjectstorage)
39 / Pcloud
(pcloud)
40 / PikPak
(pikpak)
41 / Pixeldrain Filesystem
(pixeldrain)
42 / Proton Drive
(protondrive)
43 / Put.io
(putio)
44 / QingCloud Object Storage
(qingstor)
45 / Quatrix by Maytech
(quatrix)
46 / SMB / CIFS
(smb)
47 / SSH/SFTP
(sftp)
48 / Sia Decentralized Cloud
(sia)
49 / Storj Decentralized Cloud Storage
(storj)
50 / Sugarsync
(sugarsync)
51 / Transparently chunk/split large files
(chunker)
52 / Uloz.to
(ulozto)
53 / Union merges the contents of several upstream fs
(union)
54 / Uptobox
(uptobox)
55 / WebDAV
(webdav)
56 / Yandex Disk
(yandex)
57 / Zoho
(zoho)
58 / premiumize.me
(premiumizeme)
59 / seafile
(seafile)
Storage> 55 #选择webdav,也就是55号,alist只支持通过webdav挂载
#注意!!!这个编号随着更新是会变的,看清楚webdav是几号,不要无脑输入55!
Option url.
URL of http host to connect to.
E.g. https://example.com.
Enter a value.
url> https://localhost:5244/dav #注意/dav是必须加的
Option vendor.
Name of the WebDAV site/service/software you are using.
Choose a number from below, or type in your own value.
Press Enter to leave empty.
1 / Fastmail Files
(fastmail)
2 / Nextcloud
(nextcloud)
3 / Owncloud
(owncloud)
4 / Sharepoint Online, authenticated by Microsoft account
(sharepoint)
5 / Sharepoint with NTLM authentication, usually self-hosted or on-premises
(sharepoint-ntlm)
6 / rclone WebDAV server to serve a remote over HTTP via the WebDAV protocol
(rclone)
7 / Other site/service or software
(other)
vendor> 6 #6或者7不知道有啥区别,我填的是6,用了一段时间没出bug
Option user.
User name.
In case NTLM authentication is used, the username should be in the format 'DomainUser'.
Enter a value. Press Enter to leave empty.
user> #这里输入你的alist用户名
Option pass.
Password.
Choose an alternative below. Press Enter for the default (n).
y) Yes, type in my own password
g) Generate random password
n) No, leave this optional password blank (default)
y/g/n> y #是的,输入自己的密码
Enter the password:
password: #输入你的alist密码
Confirm the password:
password: #确认密码
Option bearer_token.
Bearer token instead of user/pass (e.g. a Macaroon).
Enter a value. Press Enter to leave empty.
bearer_token>
Edit advanced config?
y) Yes
n) No (default)
y/n> n #不更改高级选项
Configuration complete.
Options:
- type: webdav
- url: https://192.168.1.141:5244/dav
- vendor: other
- user: 你的alist用户名
- pass: *** ENCRYPTED ***
Keep this "AList" remote?
y) Yes this is OK (default)
e) Edit this remote
d) Delete this remote
y/e/d> y #是的,以上设置没有问题
Current remotes:
Name Type
==== ====
AList webdav
e) Edit existing remote
n) New remote
d) Delete remote
r) Rename remote
c) Copy remote
s) Set configuration password
q) Quit config
e/n/d/r/c/s/q> q #退出rclone配置测试挂载
我们会用到一个添加了一堆参数的命令进行挂载。我经历了无数次群晖宕机,全网收集参考了各种rclone挂载参数,翻阅了官方文档,问过gpt和deepseek,并且结合了我自己的理解,最终总结出来这样的一条命令。经过一段时间的高强度使用(包括bt上传和下载),没有出现问题。所以我把这条挂载命令分享出来
rclone mount AList: /vol2/1000/飞牛网盘/AList --config /root/.config/rclone/rclone.conf --header "Referer:" --no-check-certificate --cache-dir /vol2/1000/飞牛网盘/.cache/rclone --multi-thread-streams 4 --buffer-size 512M --vfs-fast-fingerprint --vfs-cache-mode full --vfs-cache-max-size 100G --vfs-cache-max-age 24h --file-perms 0777 --copy-links --allow-other --allow-non-empty --umask 000不要无脑复制粘贴,里面有参数是需要修改的,我在下面用加粗下划线标明了
这条命令很长,所以我通过拆分讲解一下每一条参数是什么意思(因为它实在是太长了,所以借用ai生成一部分解释,生成的不对的地方我修改了解释)
rclone mount AList: /vol2/1000/飞牛网盘/AList:rclone mount: 这是rclone的子命令,用于将远程存储挂载到本地文件系统。AList:: 这是远程存储的名称,AList是在rclone配置文件中定义的远程存储的名称。修改为你在上一步给remote起的名字/vol2/1000/飞牛网盘/AList: 这是本地目录,远程存储将被挂载到这个目录。修改为你想要挂载到的目录,确保存在“AList”这个空文件夹!
--config /root/.config/rclone/rclone.conf:--config: 指定rclone配置文件的路径。/root/.config/rclone/rclone.conf: 这是rclone配置文件的路径,其中包含了远程存储的配置信息。
--header "Referer:":--header: 允许你添加自定义的 HTTP 头。"Referer:": 这里设置了一个空的Referer头,通常用于绕过某些基于Referer头的访问限制。
--no-check-certificate:--no-check-certificate: 禁用 SSL 证书验证。因为我们的AList强制使用https访问,但是证书绑定的是域名,直接使用本地ip访问会报错。
--cache-dir /vol2/1000/飞牛网盘/.cache/rclone:--cache-dir: 指定缓存目录的路径。/vol2/1000/飞牛网盘/.cache/rclone: 这是缓存目录的路径,rclone会将缓存文件存储在这个目录中。- 修改这里!建议选择空间富余且读写速度快的硬盘存放缓存。不一定要放到Windows11共享文件夹内。
--multi-thread-streams 4:--multi-thread-streams: 指定多线程下载时的线程数。4: 这里设置为 4 个线程,意味着rclone会使用 4 个线程来并行下载文件。
--buffer-size 512M:--buffer-size: 指定缓冲区的大小。512M: 这里设置为 512MB,意味着rclone会使用 512MB 的内存作为缓冲区来加速读写操作。
--vfs-fast-fingerprint:--vfs-fast-fingerprint: 启用快速指纹计算,用于加速文件指纹的计算过程。
--vfs-cache-mode full:--vfs-cache-mode: 指定 VFS(虚拟文件系统)缓存模式。full: 这里设置为full,意味着rclone会缓存所有文件,包括读取和写入的文件。- 必须启用vfs-cache full,不启用vfs或者vfs-cache write模式都会导致qBittorrent无法正确的下载和做种。
--vfs-cache-max-size 100G:--vfs-cache-max-size: 指定 VFS 缓存的最大大小。100G: 这里设置为 100GB,意味着rclone的 VFS 缓存最大不会超过 100GB。
--vfs-cache-max-age 24h:--vfs-cache-max-age: 指定 VFS 缓存的最大年龄。24h: 这里设置为 24 小时,意味着缓存文件在 24 小时后会被视为过期并可能被删除。
--file-perms 0777:--file-perms: 指定挂载文件的权限。0777: 这里设置为0777,意味着挂载的文件将具有读、写、执行权限,对所有用户开放。
--copy-links:--copy-links: 允许rclone跟随符号链接并复制它们指向的文件。
--allow-other:--allow-other: 允许其他用户访问挂载的文件系统。
--allow-non-empty:--allow-non-empty: 允许挂载到一个非空目录。通常rclone会拒绝挂载到非空目录,但使用这个选项可以绕过这个限制。- 尽管添加了这个参数,请还是务必确保挂载目录是空的!
--umask 000:--umask: 设置挂载文件的 umask 值。000: 这里设置为000,意味着挂载的文件将不会有任何权限掩码,所有用户都可以访问。
--daemon:- 使挂载在后台运行
- 在上面的测试中我们没有用到这个参数,但是设置开机自启时会用到
输入指令之后终端会卡住,这样是正常的,因为我们没有设定后台运行

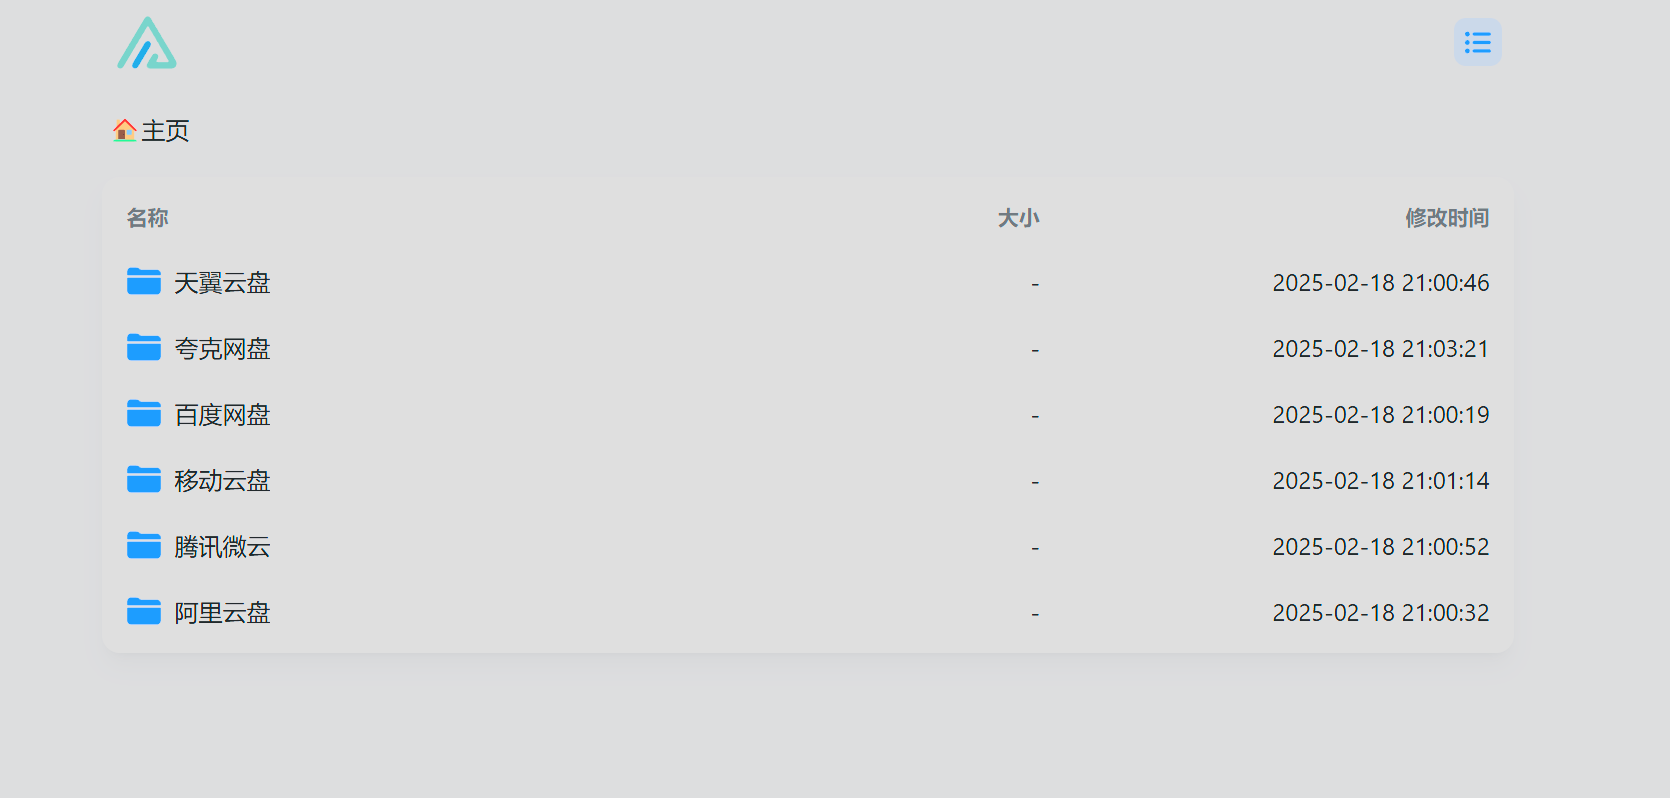
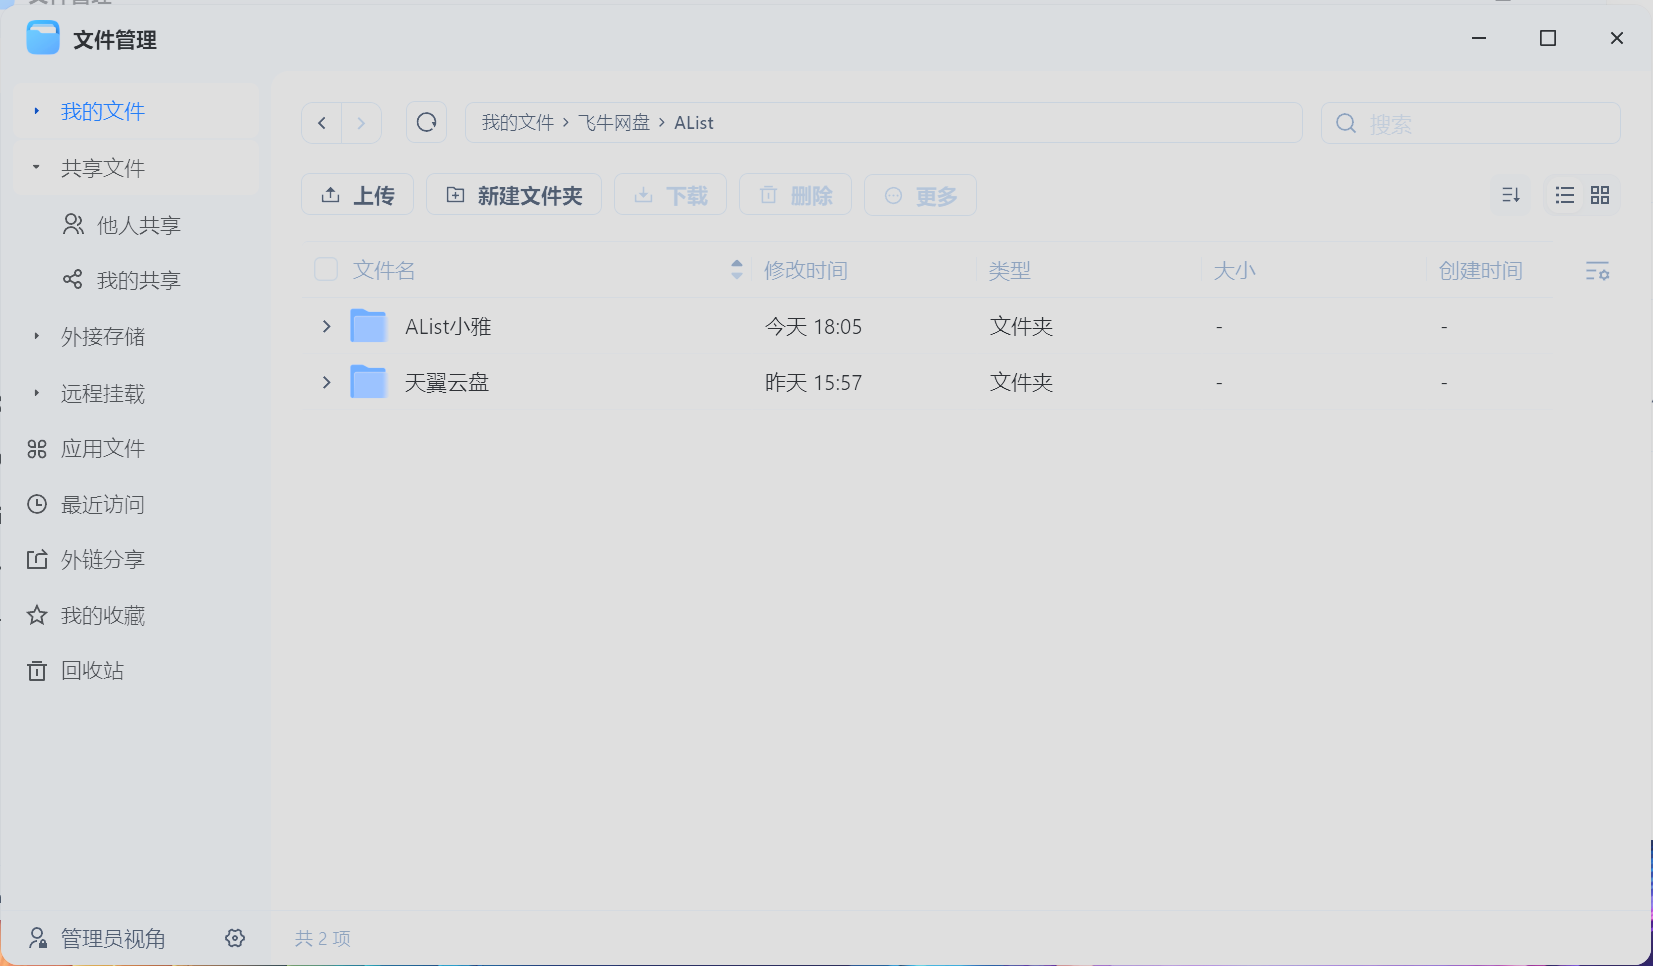
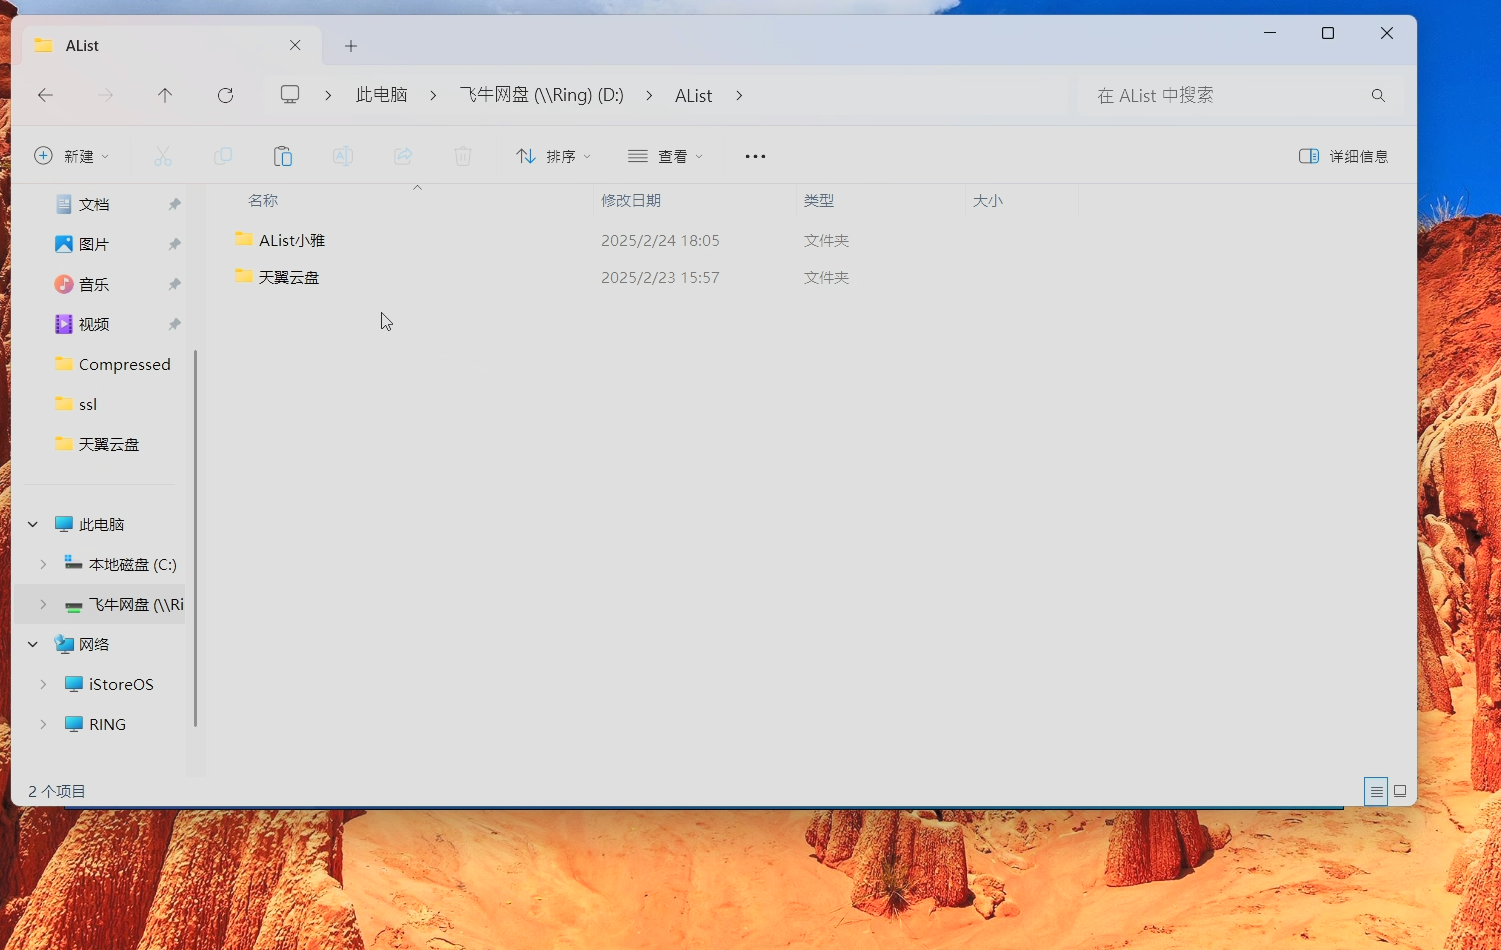
此时打开挂载到的文件夹,已经可以看到AList内容了
ctrl+c先关闭rclone
添加开机自启
nano /usr/local/bin/mount_rclone.sh首先,AList需要一些时间才能启动,不能一开机就使用rclone挂载,否则会失败。我添加了一个判断逻辑,当AList启动成功后脚本才会执行挂载,否则就会一直循环等待AList启动
mount_rclone.sh输入以下内容:
#!/bin/bash


#这段命令是查看AList的内容,如果AList没有启动的话就会报错
#检测到报错就会sleep一秒,然后循环检测
#直到没有报错(AList已经启动了)才会结束循环

while ! rclone lsd AList: --no-check-certificate >/dev/null 2>&1; do
    sleep 1
done


# Alist启动后执行rclone mount

rclone mount AList: /vol2/1000/飞牛网盘/AList --config /root/.config/rclone/rclone.conf --header "Referer:" --no-check-certificate --cache-dir /vol2/1000/飞牛网盘/.cache/rclone --multi-thread-streams 4 --buffer-size 512M --vfs-fast-fingerprint --vfs-cache-mode full --vfs-cache-max-size 100G --vfs-cache-max-age 24h --file-perms 0777 --copy-links --allow-other --allow-non-empty --umask 000 --daemon
添加可执行权限
chmod +x /usr/local/bin/mount_rclone.sh
fnos(debian)使用rc.local来开机执行脚本。
#进入/etc/,建立rc.local文件
cd /etc/
touch rc.local
nano rc.local


#输入以下内容

#!/bin/sh -e
/usr/local/bin/mount_rclone.sh &
exit 0


#保存退出,给执行权限
sudo chmod +x /etc/rc.local


#启用rc.local并查看状态
sudo systemctl enable rc-local
sudo systemctl start rc-local.service
sudo systemctl status rc-local.service


#重启fnos
reboot
开机之后再检查一下挂载成功了没有。