

Centos中openssh升级9.9p2全详细教学
有条件的整个快照
- 准备工作
下载三个安装包
Zlib下载地址:
https://zlib.net/
OpenSSL下载地址:
https://www.openssl.org/source/
OpenSSH下载地址:
https://mirrors.aliyun.com/pub/OpenBSD/OpenSSH/portable/
安装telnet 以便openssh升级失败无法远程!!!
(无法使用telnet的可以不用安装)。
yum install xinetd
yum install telnet
yum install telnet-server
systemctl start telnet.socket
注意linux下telnet服务在默认情况下root无法登录,普通账号可以登录让root可以登录的方法:
vi /etc/securetty
添加
pts/0
pts/1
pts/2
pts/3
如果登录的用户比较多,可能需要更多的pts/**
这样添加的作用,是允许root从pts/0到pts/3这几个终端登录linux
保存以后,就可以用root登录telnet了
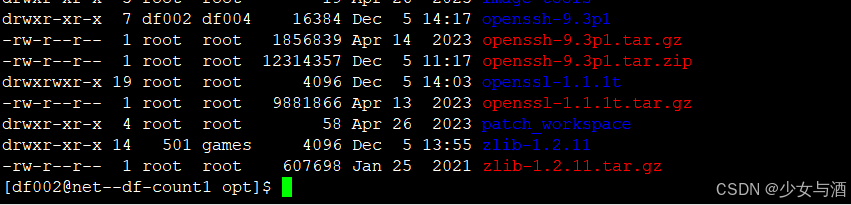
二、安装包解压
安装包统一存放在 /opt 目录下
for i in *.gz;do tar -xvf $i; done
上方命令为解压所有.gz的压缩包
- 升级依赖
Yum源如果用不了,问当地是否有自己的yum源,并且配置,如果没有自己下载相应的依赖包并且安装
yum -y install gcc gcc-c++ kernel-devel
四、安装zlib
./configure --prefix=/usr/local/zlib
make && make install
五、安装openssl
./config --prefix=/usr/local/ssl -d shared
make && make install
echo '/usr/local/ssl/lib' >> /etc/ld.so.conf
ldconfig -v
六、安装openssh
./configure --prefix=/usr/local/openssh --with-zlib=/usr/local/zlib --with-ssl-dir=/usr/local/ssl
--without-openssl-header-check
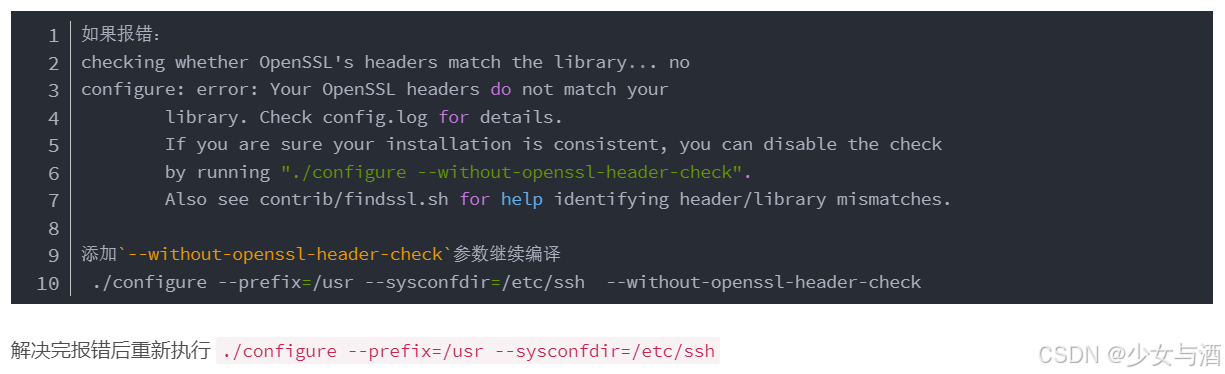
make && make install
七、sshd_config文件修改
echo 'PermitRootLogin yes' >>/usr/local/openssh/etc/sshd_config
echo 'PubkeyAuthentication yes' >>/usr/local/openssh/etc/sshd_config
echo 'PasswordAuthentication yes' >>/usr/local/openssh/etc/sshd_config
八、备份原有文件,并将新的配置复制到指定目录
mv /etc/ssh/sshd_config /etc/ssh/sshd_config.bak
cp /usr/local/openssh/etc/sshd_config /etc/ssh/sshd_config
mv /usr/sbin/sshd /usr/sbin/sshd.bak
cp /usr/local/openssh/sbin/sshd /usr/sbin/sshd
mv /usr/bin/ssh /usr/bin/ssh.bak
cp /usr/local/openssh/bin/ssh /usr/bin/ssh
mv /usr/bin/ssh-keygen /usr/bin/ssh-keygen.bak
cp /usr/local/openssh/bin/ssh-keygen /usr/bin/ssh-keygen
mv /etc/ssh/ssh_host_ecdsa_key.pub /etc/ssh/ssh_host_ecdsa_key.pub.bak
cp /usr/local/openssh/etc/ssh_host_ecdsa_key.pub /etc/ssh/ssh_host_ecdsa_key.pub
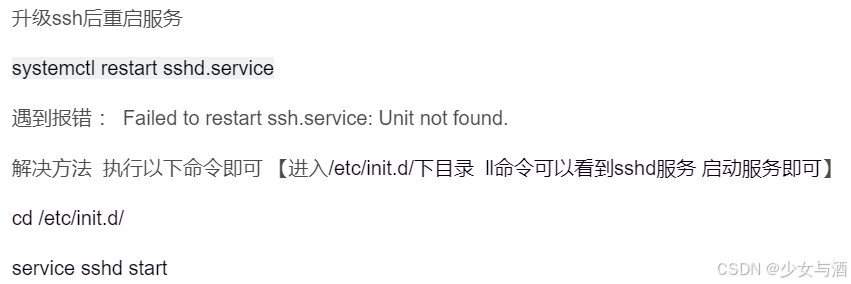
九、重启sshd服务
systemctl restart sshd
最好先查看下方sshd是否启用,谨慎重启sshd,如果没有的话,进行下方操作
注意:
1、可能会出现sshd 启动超时,解决办法:
先停掉sshd服务,将sshd原服务改名(或备份删除),使用安装包里自带的sshd.init,复制到/etc/init.d/sshd,重启即可
systemctl daemon-reload(重启之前执行命令重载systemctl命令)
systemctl stop sshd
mv /lib/systemd/system/sshd.service /lib/systemd/system/sshd.service.bak
cp /opt/openssh-8.4p1/contrib/redhat/sshd.init /etc/init.d/sshd
/etc/init.d/sshd restart
systemctl status sshd
2、xshell 连接工具报错
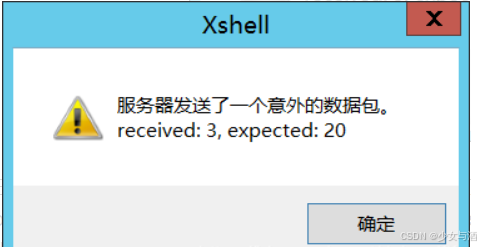
解决办法:
解决方法:在/etc/ssh/sshd_config最后增加以下一行
KexAlgorithms curve25519-sha256@libssh.org,ecdh-sha2-nistp256,ecdh-sha2-nistp384,ecdh-sha2-nistp521,diffie-hellman-group14-sha1
重启sshd服务。
注意:如果xshell是5.0版本,此方法不生效,只能升级xshell版本。
至此openssh 升级完成
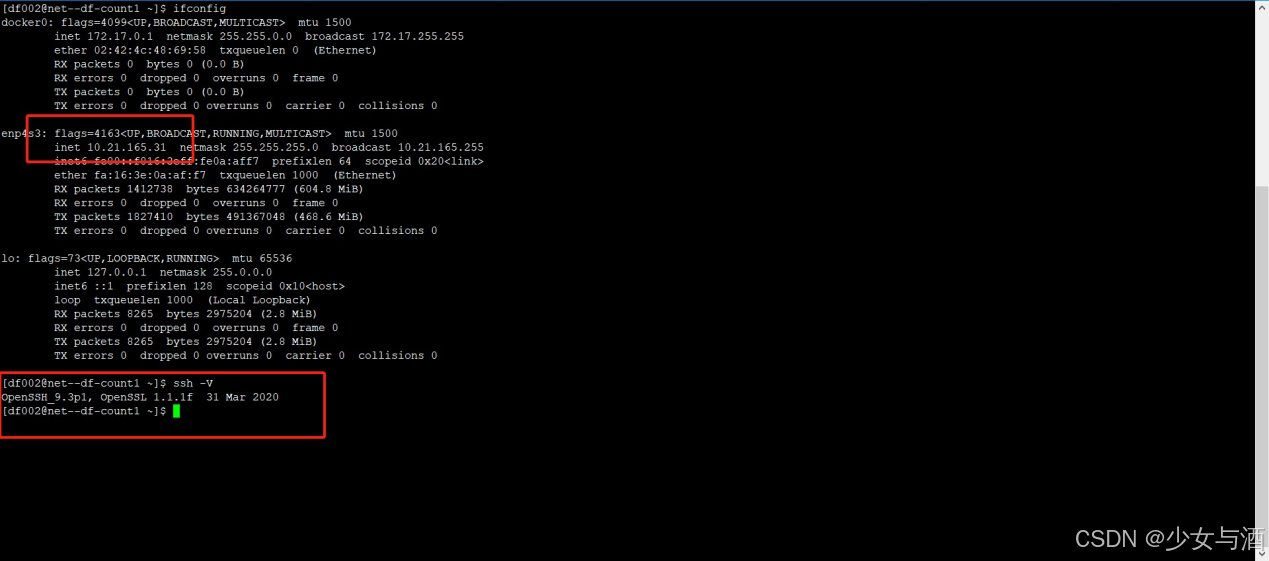
ssh -V 验证
注意:telnet服务属于不安全的远程连接服务,ssh正常后,此服务需要卸载。
yum remove telnet
yum remove telnet-server
yum remove xinetd